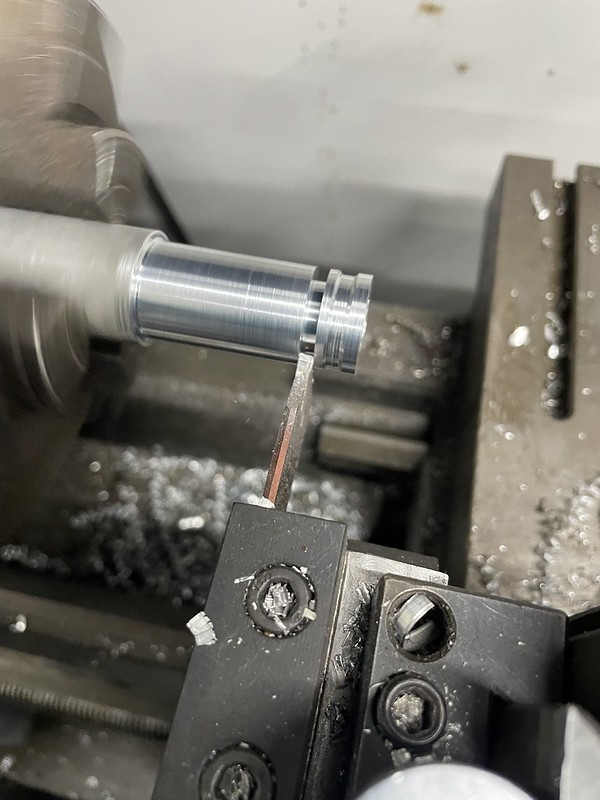
Alrighty, so when we last left this adventure I had started to modify the rear hub adapters to work for my needs. The next step was modifying them from 5x100 to 5x114.3. Subarugears actually dimples and labels all the possible bolt hole options…but we have a milling machine and should be more precise than simply clamping them into a drill press, no? Ten holes, and thirty tool changes later, and I’ve got them ready to go.


Keep in mind, of course, that in your shop safety should be first…in mine its occasionally safety third and you need to worry about getting chips in your bourbon. Boring machining jobs with multiple tool changes will do that!

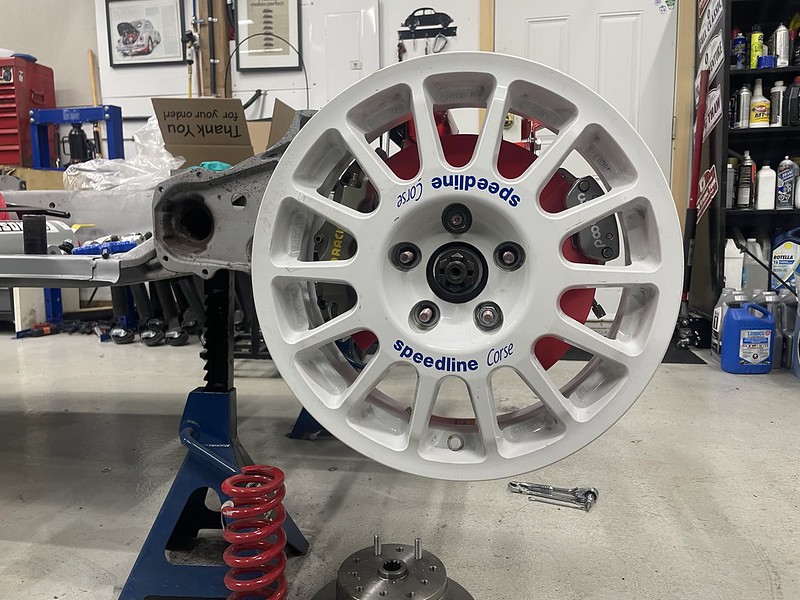
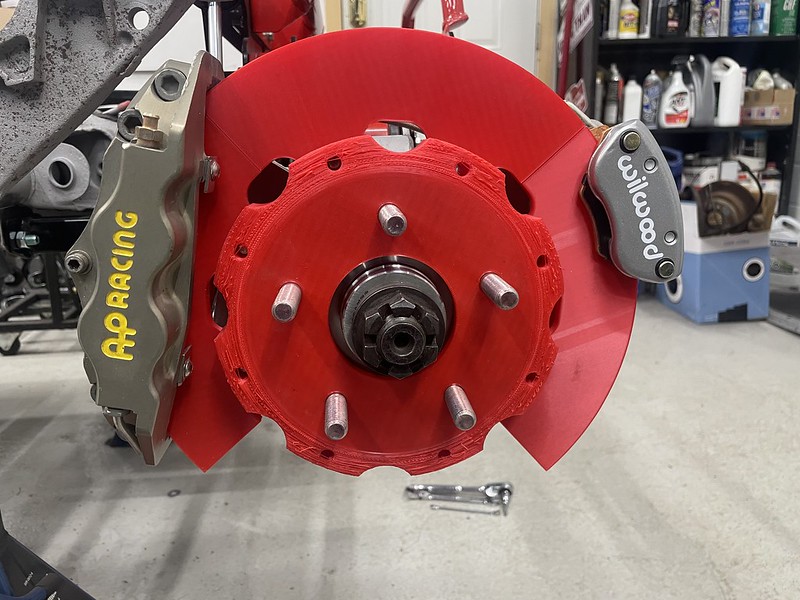
My parking brake calipers arrived Saturday morning. This pair of calipers are Wilwood part number 120-12070. A simple single piston floating caliper, that weights a heck of a lot more than I anticipated. Whoops. Oh well, they will keep the car street legal. Note for future adventurists: drum brakes inside the disc are definitely a lighter solution.

The parking brake cable arms can be rotated into one of three different positions, but regardless of how you intend to use them…the parking brake cables are going to be an issue on my build. In the end I chose to swap the left and right caliper and rotate the assembly for the tightest setup possible. It might actually be better if I put the hydraulic calipers on the rear of the axle, and the parking brake on the front…but that requires buying new crossover pipes and other bits for my hydraulic calipers. Custom parking brake cables are going to end up cheaper in the long run.


With the exception of my suspicion that I will need custom cables, I’m super pleased with the rear brake setup as it has turned out. I’m going to wait until I have all four rotors in house before I machine the new front and rear caliper mounts. Being able to test with metal hats and rotors might save us from making some aluminum scrap.

The Imohr suspension setup does leave one scratching your head at times. The setup as delivered comes with serious interference from the front tie-rods at full droop. In fact, it will be the front tie-rods that are the droop-stop on the car, which I’m not at all going to accept. Bump-steer is about 1/3-1/4 a stock beetle suspension, but I think can be improved.

At the moment, I’m not sure the steering rack is going to stay in the spot Imohr has set it, due to my pedal setup, so before modifying anything on the rack I need to get the floor pan into the car for further testing. I don’t want the setup straining on the rack, however, so I whipped up some limit straps and spacers.


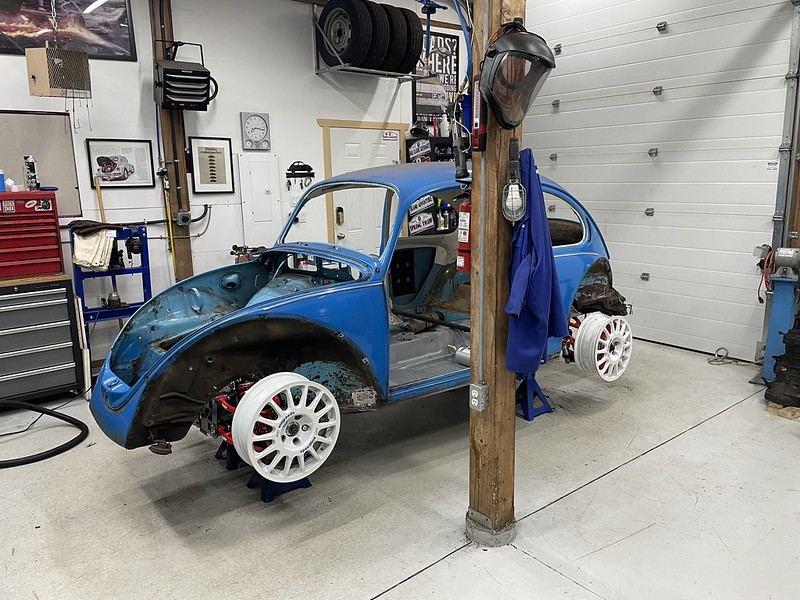
The floorpan is starting to “get there”, which means I need to find a whole new list of problems?!

My gosh, whomever told you “this suspension is bolt-in” should be shot. After modifying the floor pan, lowering the body on discovers a whole new realm of things that don’t fit. The rear shocks interfere with the body…so that has to be trimmed. The rear brace is (likely) going to interfere with the body as well, so we’ll be trimming even further. After some quick work with the body saw (which will be cleaned up later) I’ve got the body resting on the pan for the next set of problems. Interestingly, I don’t think you can install transmission into the floor pan before mating the body to the car. The rear brace (think Kafer-Brace) on the Imohr suspension has four bolts that would be near impossible to access with a transmission in the pan and the body on. One of those “glad I decided to mock this all up” discoveries.

It’s at this point, though, where my current knack of storing cars all over the continent was causing me a problem. I’ve been thinking the last few weeks about how the pedal placement and seat placement would be a heck of a lot easier, if I could just measure the setup in my red German Look beetle. While this one will end up being different, it would at least give me a baseline to work off of. The Red Beetle is being stored outside of Toronto for the winter, because I last had it there for a Hagerty driving event and I was supposed to need a car in the east for another Hagerty driving event end of this month. Fortunately, a work trip to Toronto was on the calendar, and I managed to squeeze out the time needed to drive 2hrs out to the car for some measurements. Which means once I’m back, I’ll be able to work ahead.