

The plan was to tear the car down this winter, and work on the ‘restoration’ over the next two years. Hmmm…I really hope my wallet can catch up to me, because the following photos are taken over a two-week period. Oh, and I’ve been off to Denver for a trip during that two weeks! Bob has been over a few times to help me out, and plans to do a lot of the body work on the car with me. So I guess it’s moving a little quicker than I anticipated!


The running boards had a bit of a surprise for me. That metal strip was holding onto a label from the shop my dad bought the boards from.


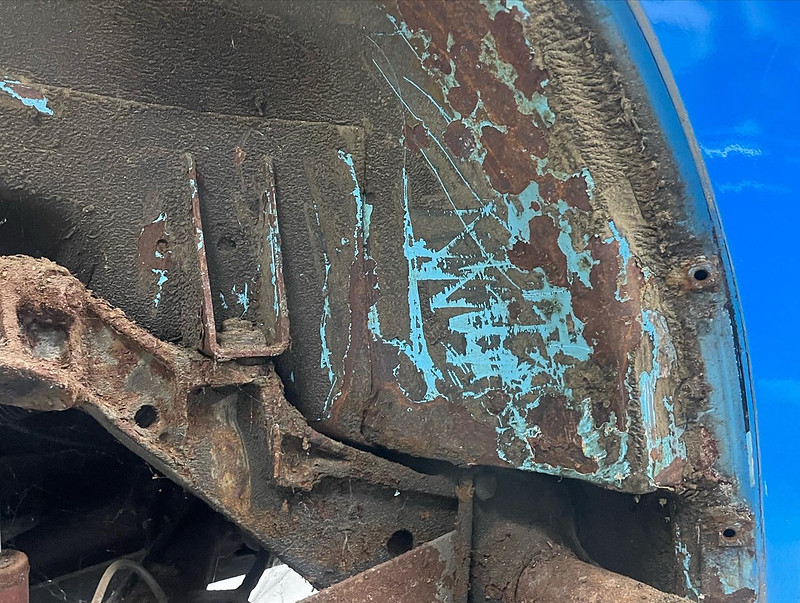
The car was winter driven until about 1988, when it was then moved to summer duty at the family cottage. As you can see by the front beam, Ontario winters can be tough. I do remember dad oiling the body/car with some sort of product each fall, and the cottage road was gravel. The combination of oil and gravel dust means my shop floor has been VERY sandy the last two weeks!


Driver’s side running board bolts all came out by hand, except for the rear most hole which dad had ‘repaired’ in 1983. At the time, dad didn’t weld. Fender bolts all came out by hand, except for this one. Four others had spun on dad in ’83, and he had just used bolts, washers and nuts.

The torsion tube is crusty, but that small spot is all the body rot in the driver’s side rear corner.
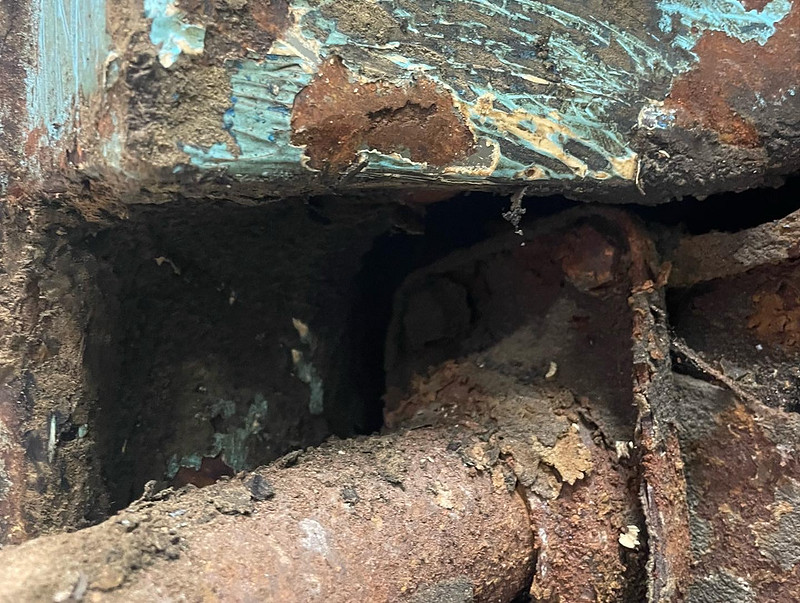
Bumper mounts will be swapped…so this bit of rot isn’t a huge deal.


The full fuel tank didn’t exactly survive the 25yrs of storage [img alt=":P" class="smile" src="//storage.proboards.com/forum/images/smiley/tongue.png[/img]


Every bolt on the passenger side running board came out by hand, until the rear most one…which was missing. I guess Bob will have
something to do on the body [img class="smile" alt=":P" src="//storage.proboards.com/forum/images/smiley/tongue.png[/img]


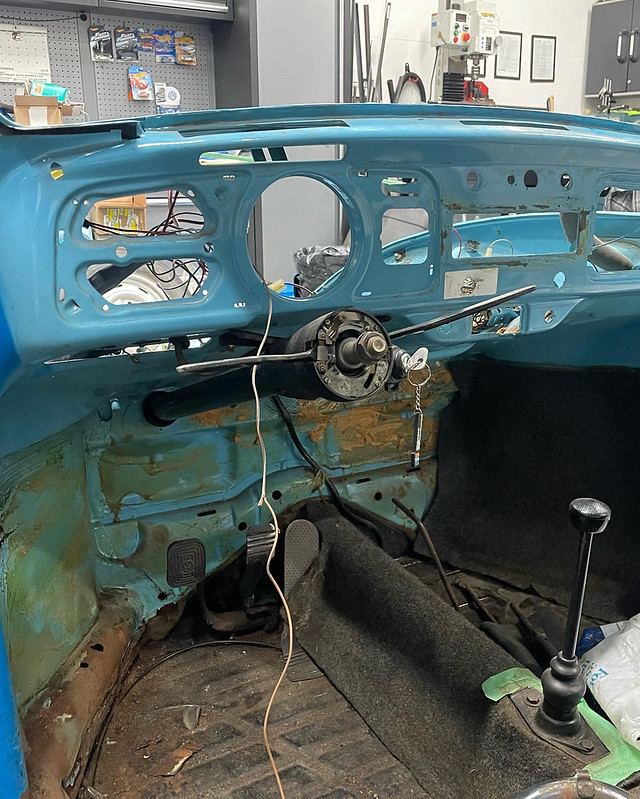
All of the body to pan bolts came out by hand, except the four on the front napoleons hat. We had to use the impact gun on it’s lowest setting to get them to spin. Once we did, they came out by hand. The bottom of the heater channels in my initial inspection look absolutely perfect. We have a bit of rot on the front firewall by the brake master, and after this photo was taken I dropped the body off the stand and damaged the rear apron (F$#@!!!!!!!!!!!!!)

From here, I’ve focused on the pan…


Looks like I’ll be doing both pan halves. They are solid except for the outer mounting flange. Any of the missing metal is attached to the foam seal under the heater channels. If i peel it back off the heater channel, I just get factory Marina Blue. It’s unreal.