After a couple of nights away from the car, and a BMW M3 track day, I decided I didn’t like where the pedals were going to be mounted in the Rally Bug. I need to find a way to be push them further forward. Things got technical in the shop tonight. Had to print off a full-scale representation of the Tilton 600-series under-foot pedal set...to see how much more space $800 will buy me.
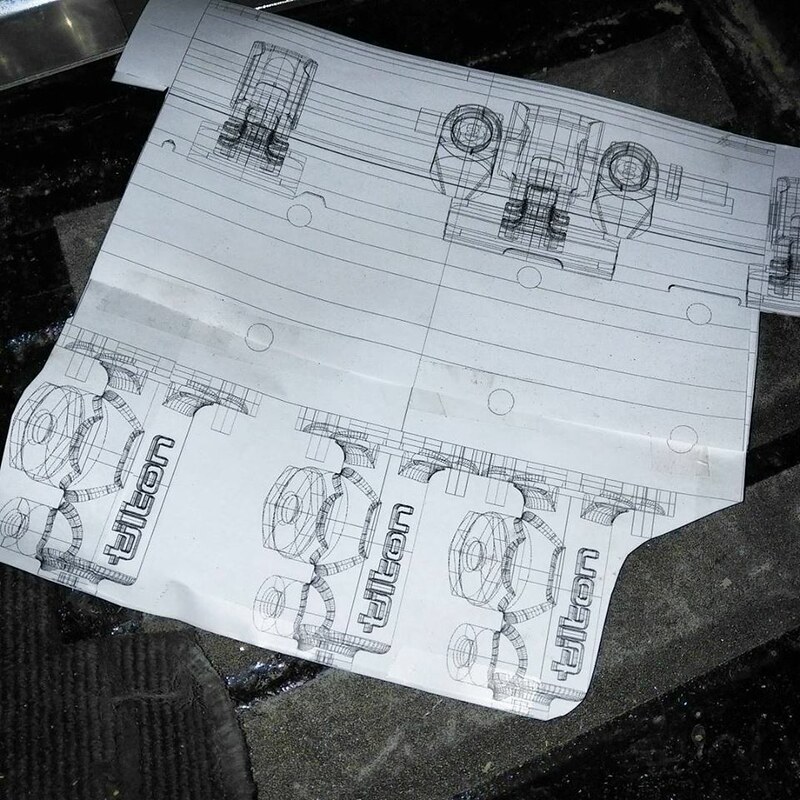
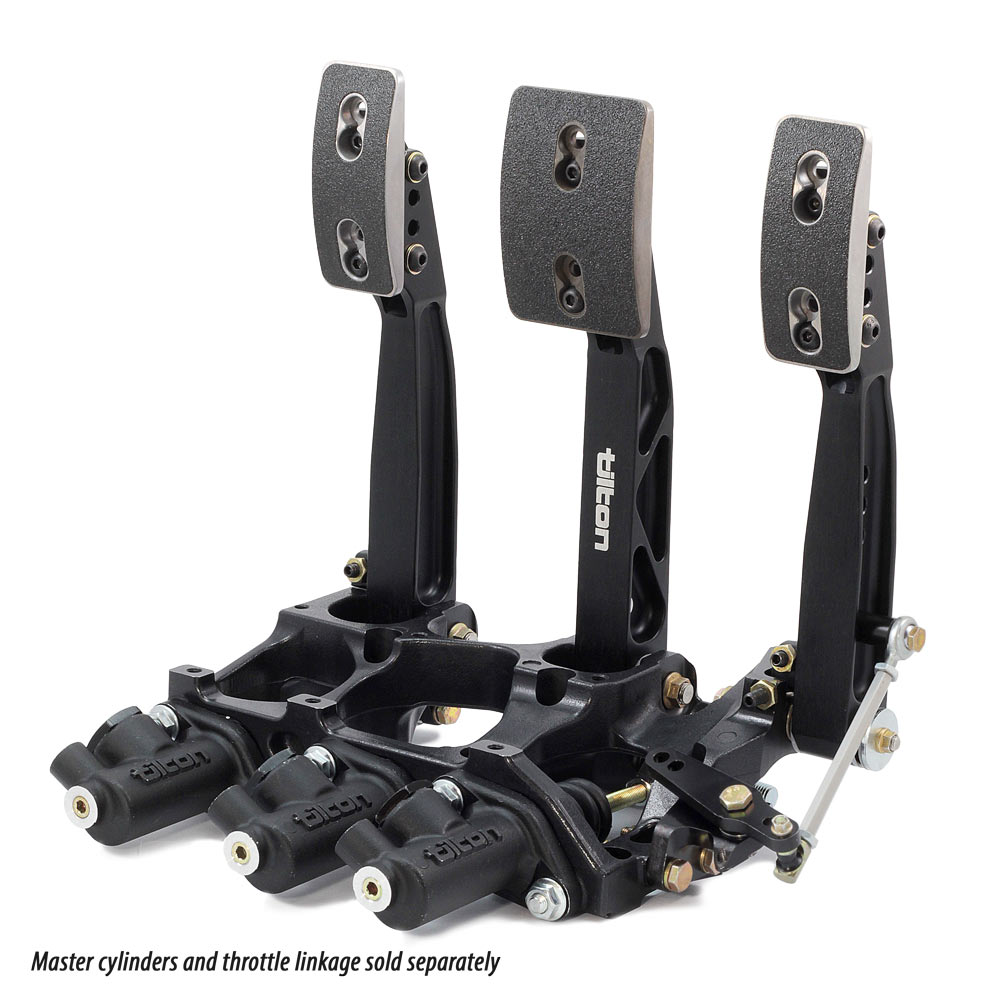
The underfoot mounting of the master cylinders allows the pedals to be pushed significantly further forward. The trade-off, however, is in width at the firewall. The 600-series underfoot mounting cannot be done in a beetle without significant changes to the heater channel. Since I’m not willing to pull the body off the pan this winter, I decided to save the $800 and make what I have work. The next car I build will get the 600-series set.
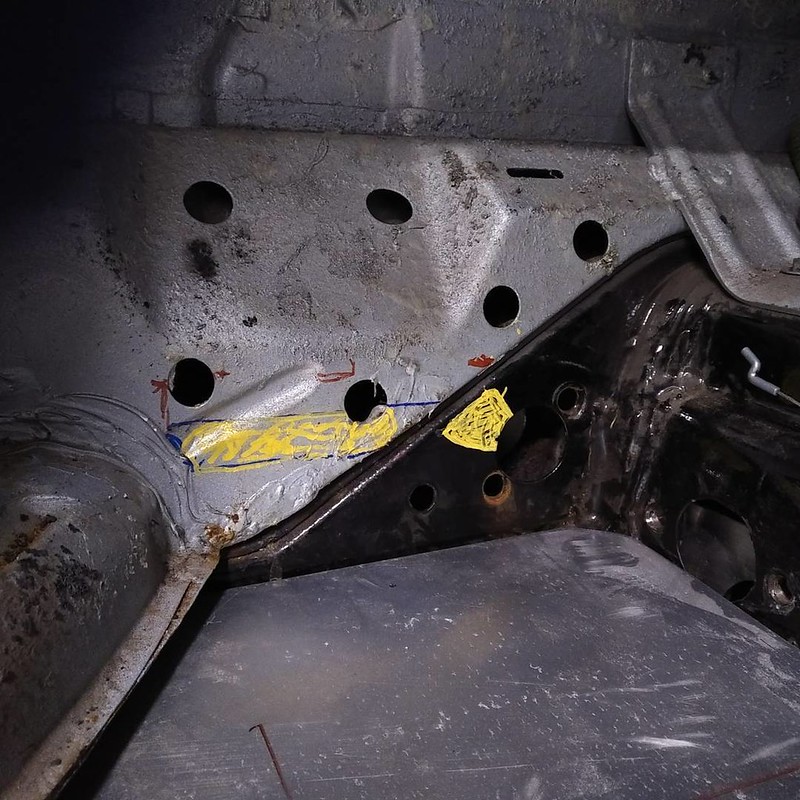
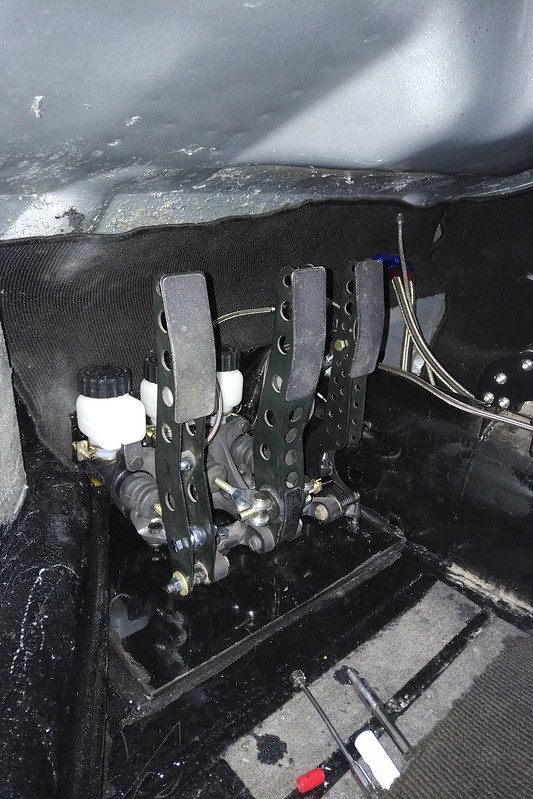
I debated cutting away the sheet metal painted in yellow, to gain another 1/4-1/2” of movement…and then figured 'what the heck?’. Removing the yellow got me some additional space, and then I removed quite a bit more. After the cutting I was able to move the pedal set forward almost 1.5" from where it was earlier tonight, giving me enough space to be comfortable. The green tape line shows where the 600-series gas pedal would be, which is about 1" further forward on the car. Pretty much inline with where the stock gas pedal would be.

With the pedal spot basically figured it out, it was time to make a plate for the top side, weld on a steel plate on the bottom side, and drill the mounting holes. With the pedals now sitting at the proper level, I had to figure out how to make the accelerator cable work. The setup of the accelerator cable took three different versions before I came up with something that I’m happy with. Presuming you want to use the stock cable, in the stock tube, you have to find a way to make the system pull relatively horizontally, instead of pivoting and pulling down. Next, you have to sort out the pedal ratio, so it’s pulling enough cable through the travel of the gas pedal. You have to ensure that your setup pulls enough cable that you get full throttle…and finally, the whole setup needs to be adjustable enough that once you setup the brakes and have them bled, you can adjust where the gas pedal sits for best heel-toe use…and then adjust the pull, ratio, etc all over again. It looks a bit hokey, but I think this third edition meets all the requirements.

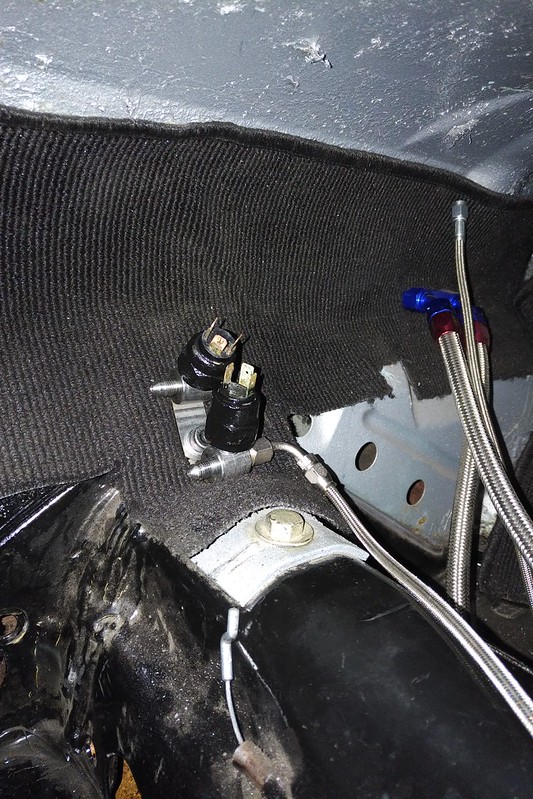
I moved the brake light switches to the inside of the car, and after this photo tweaked the brackets so that they sit in a cosmetically-acceptable manner.
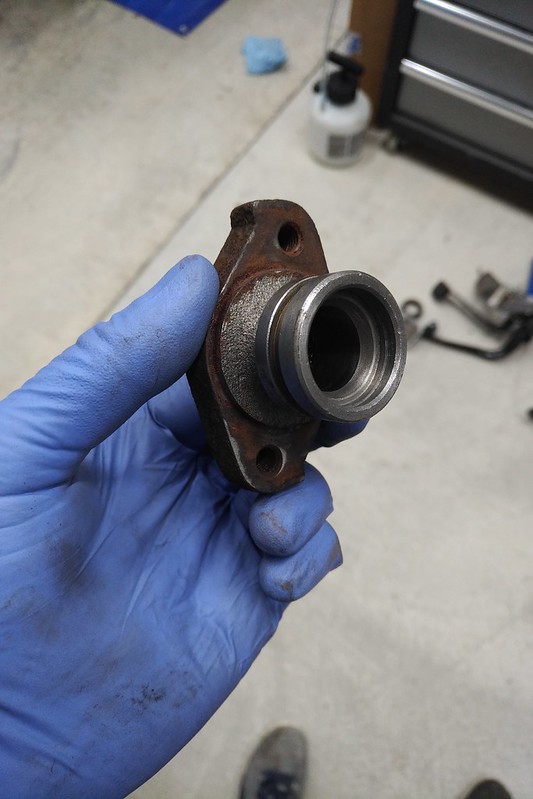
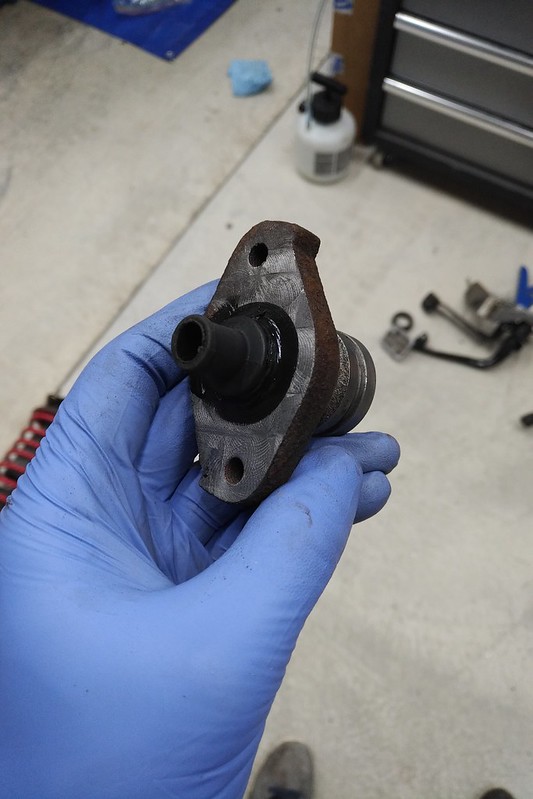
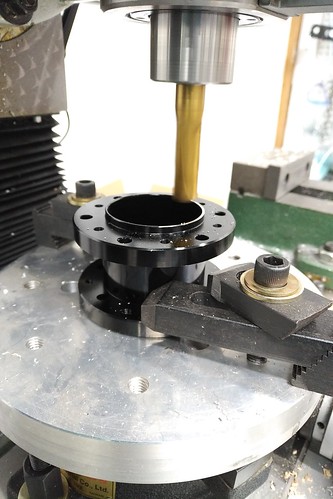
The project was paused for dinner, while I worked out how I was going to do a grommet to pass the front brake line forward through the firewall. I can’t use the factory grommet spot, due to the pedals interfering, and I forgot to weld up the stock brake master holes. A wiring firewall grommet was my original plan, but it didn’t fit the brake master hole that well. So, off to the milling machine with the factory brake master!
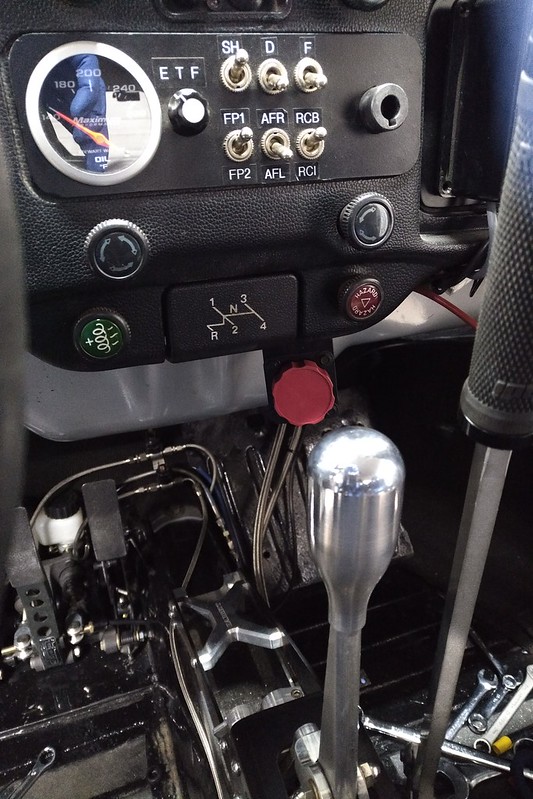
Pedals in, lines plumbed, brake light switches sorted, and the dead pedal has been modified for best fit.
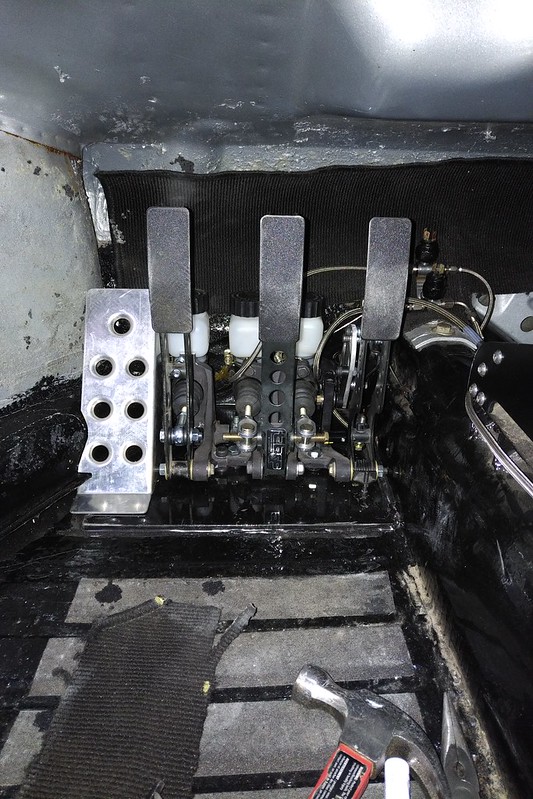
My summit racing order arrived, and I built a bracket to house the brake bias adjustment knob. If I was using the car primarily on the track, I would have mounted the knob in a spot where I could reach it while harnessed into the car. But, with it’s use on multiple surfaces, I’m far more likely to adjust the knob for tarmac, gravel, snow and ice, and leave it after some minor changes. I’ll need to loosen the harness slightly to reach it in this position, but the ****pit of the car is pretty damned busy and this was the best choice.
My steering-wheel spacer also came in, but it had a weird lip on it that interferes with my quick-release. I don’t use my mill that often, but when I do use it…it’s the best thing ever. Something doesn’t fit, and ten minutes later it fits perfectly.

I will still need to move the shifter back by about 2”, and perhaps water jet a new handle for the hydraulic handbrake…but when those are completed, I think I’m done the changes to the ****pit.
-Dave