Alrighty, so time for a little bit of an update on the engine. The weekend was frustrating as all hell...dropped the second half of the case on, and found the rotating assembly was binding every 2 turns of the crank....hmmm. Pulled the case, checked the cam reinstalled...same problem. Finally found a cam tooth that had the slightest of nicks, cleaned it up and that problem was solved.
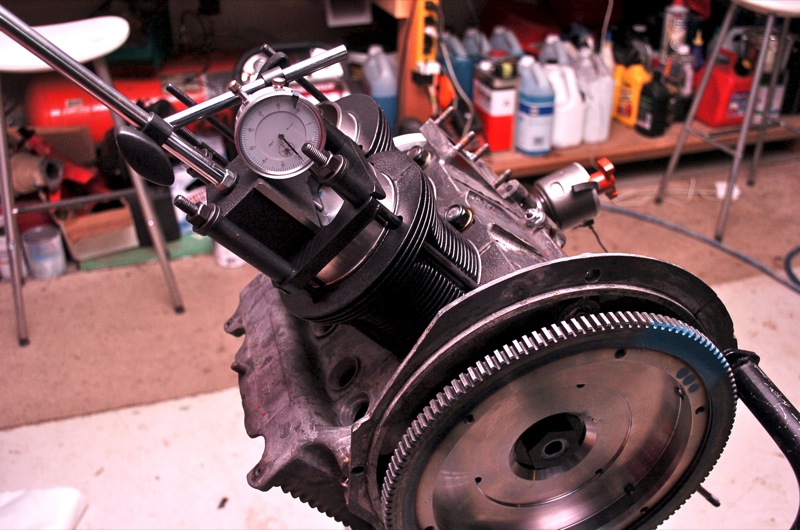
Figuring it was smooth sailing from there (ha!) and moved onto endplay. Well, actually I went on a search in our small town for a 38mm socket...forgot the Scat gland nut wasn't a 36. Found that, back to the shop later when I realized it was 3/4" drive and then onto measuring endplay! Oh, but wait, we need to make a flywheel removal tool. And hey, look at that, my collection of flywheel shims doesn't have the ones I need. This was becoming a comedy. Fortunately there's an aircooled specialist in town, and he handed me his box of shims to take home for the night. They're used, but I've done that before...
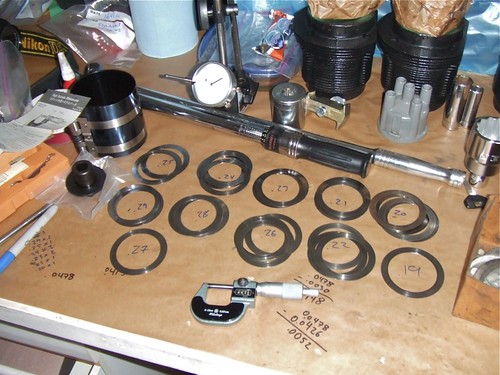
Once I had a better selection to choose from, dialing in the endplay was no issue. From there it was onto measuring deck height now that I've got the correct spacers to start with.
I need to go back and add another spacer (for a total of .070"), but that will give me my desired .050" on each of the cylinders. I guess at this point I should mention that I've gone back on my original plans to not touch the heads, and instead had them dropped off with the machinist this morning. I realized they needed to go see him to be prepped for dual valve springs, and I needed him to CC the combustion chambers for me. I've done it twice, and was getting a 5cc difference across the four heads. I wasn't sure if it was my method or the heads causing the problem, so figured I'd have him double check. Glad I did!
Quote:
Your heads were ugly as ****, The reason you were seeing a 5cc difference is that the chamber casting were not very even... then the one head with the biggest chambers had the valve seats cut @ .030" deeper than the other head. So I reshaped the chambers, then re-cut the valve seats all to same depth.
Now I can final cc them and put a finish on the chambers.
|
I've decided on a 55cc combustion chamber which will give me a compression ratio of 8.0:1 with my planned deck height. This should be conservative enough to give me a long lasting motor, and allow me to use regular fuel most of the year.
So now I'm waiting for the heads to come back and then the final agony of setting the valve train will be upon me

------------
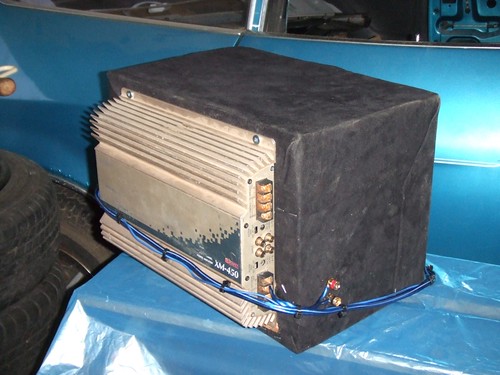
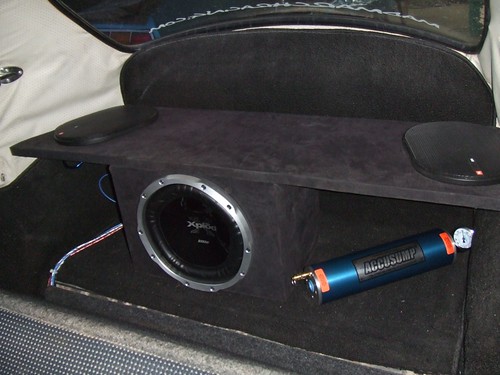
While frustrated on the weekend, I opted to take a break and add more weight to the car. Don't worry, it's fully removable in seconds thanks to Anderson PowerPole connections. I also screwed up on the first application of the 'suede', and didn't have enough material for a second layer. Meh, whatever, I'm the only one who's ever going to see it up close. I actually had to finish the sub box so that I could work out whether or not the Accusump was going to fit back there. Forgot to mock it up with the valve and cable though, so I still might be hooped on placement.
Please excuse the wiring, I recently sold the truck that all of this came out of to a friend and haven't yet pulled the expensive wires. Just used some cheap stuff for the moment. Obviously I'll be hiding the wires under the carpet once the final placement and wiring is determined.
-Dave