
|
|
#76
 May 27th 2010, 17:14
|
||||
|
||||
|
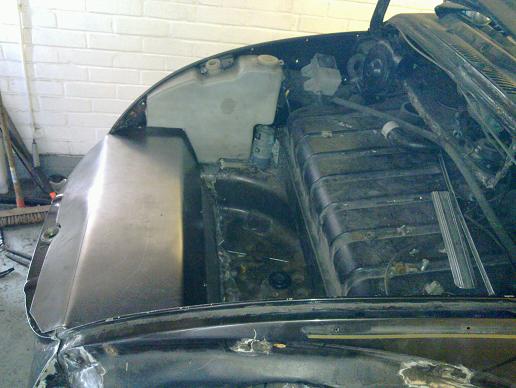
Finished off the NS bumper mount area:
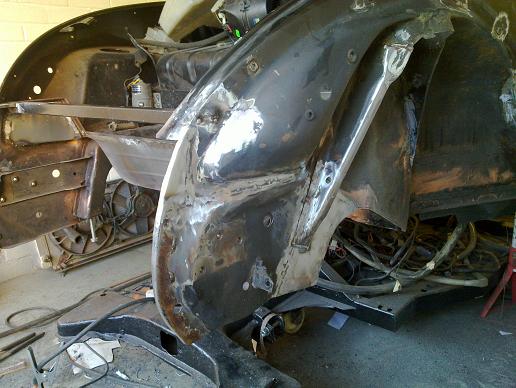 I added some fillet pieces at the top and filled in the sides to seal off the radiator from the underbonnet area. 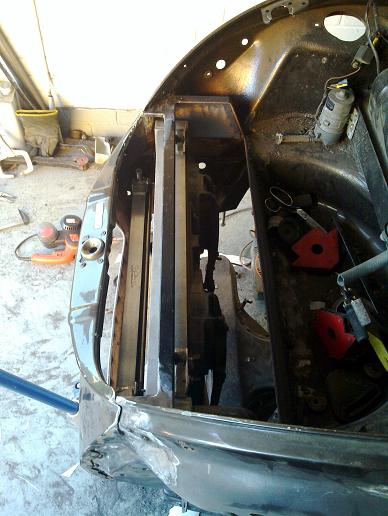 The pace chargecooler radiator only had mounts at the top, so I've welded in a tube with tabs for the top mounts and a Y shaped piece at the bottom of each side that the radiator drops into. The tube is sleeved with rubber tube to give a nice cushioned mounting. 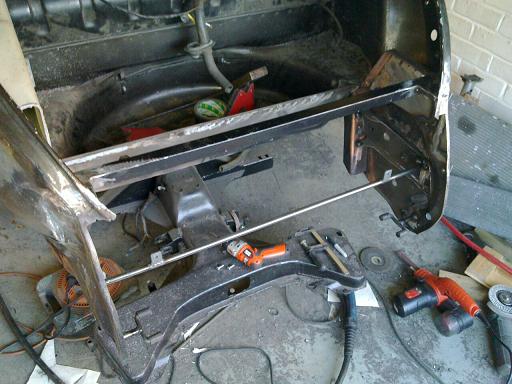 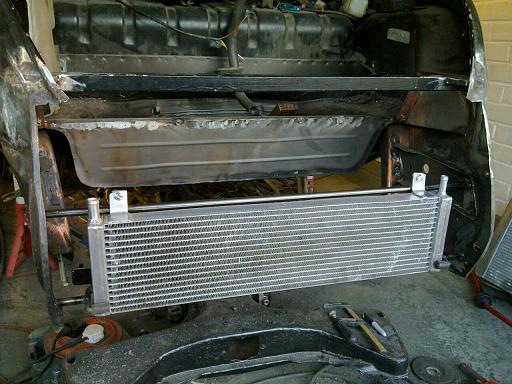
__________________
http://www.ricola.co.uk 
|
|
#77
May 28th 2010, 12:18
|
||||
|
||||
|
Rich, I hope you've realized that you know now how to build a super from scratch and in some cases better than the factory right?
Jason
__________________
If I could just get paid for my sleepless nights.... 1960 VW Bug UBRDUB Walkaround 1st Drag Run Dyno Run Oval Ragster-'57 Rag/'04 Boxster S
|
|
#79
May 28th 2010, 15:09
|
||||
|
||||
|
Cheers guys! Not sure about better than factory but I hope most of my modifications blend in well enough to look 'right' with some thought behind them.
I'm sure I'll have enough cooling Wally, the radiator came from a 500bhp track cosworth and I will have the help of the cut down Kamei kicking some more air up to it. I have a feeling it will be a while before I get to go up to my ultimate goal bhp figures.. Rich
__________________
http://www.ricola.co.uk
|
|
#80
May 29th 2010, 16:05
|
||||
|
||||
|
Had a last play before I go off on holiday for a week...
 Steel cover to go over the radiators made up and all edges folded back on themselves to avoid sharp edges and scratching the body later on. It also stiffens up the panel nicely. Once I've welded on the front valance panel I'll add an extra couple of fixing points at the front.
__________________
http://www.ricola.co.uk
|
|
#81
July 11th 2010, 16:04
|
||||
|
||||
|
Sorry for the lack of posts recently, the biggest job has been stripping the underneath of the whole body to get it all painted in epoxy mastic. Bloody horrible job!
I took a gamble on a 996/boxster spacesaver wheel fitting and it does with loads of space to spare in a variety of positions! For interest, the tyre size is 105/95R17. 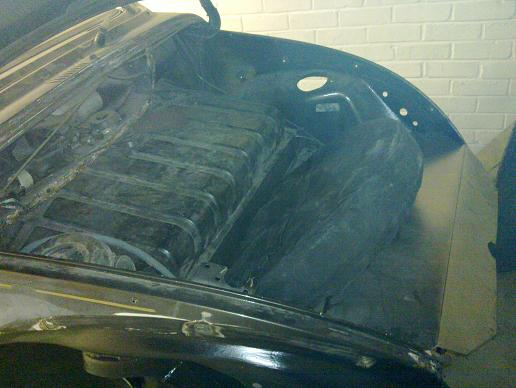 I cleaned up the rear of the front valance and welded on some bolts for the intake mesh, all edges prepped for plug welding on.  50x3mm strip with captive nuts welded on to the bottom between the inner wings to give a rigid mounting face for the air dam.  Front valance plug welded back on along the sides and bottom and then painted up in the epoxy. It's made the whole front end incredibly rigid!You can see I also painted the whole underside of the body in epoxy. 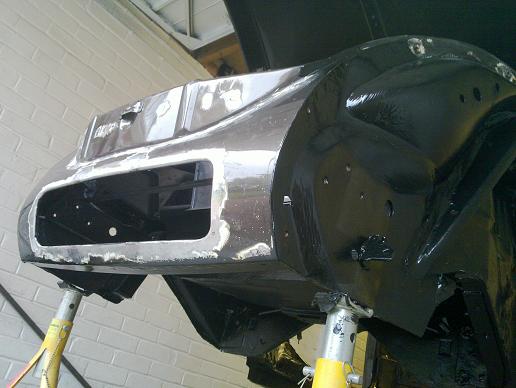 Carpet strip plug welded back on to the top of the heater channel and painted. 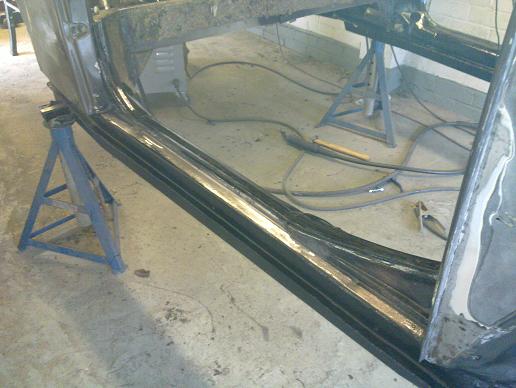 rear interior modified bodywork given a good epoxy coating 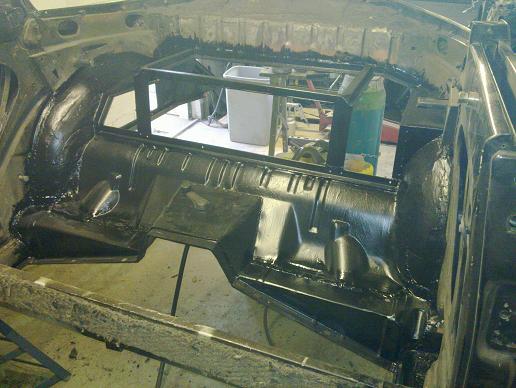 Rear end also got the epoxy treatment. Just about ready to start on the external paint prep now! 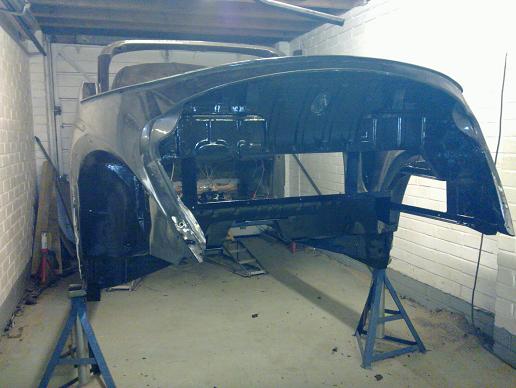
__________________
http://www.ricola.co.uk
|
|
#82
July 11th 2010, 23:27
|
|||
|
|||
|
Wow! you built yourself one sexy car, nice job!
|
|
#83
July 12th 2010, 03:08
|
||||
|
||||
|
She's gunna be a beaut!!!
Jason
__________________
If I could just get paid for my sleepless nights.... 1960 VW Bug UBRDUB Walkaround 1st Drag Run Dyno Run Oval Ragster-'57 Rag/'04 Boxster S
|
|
#84
July 12th 2010, 08:30
|
||||
|
||||
|
Keep going Ricola!!!
|
|
#85
July 30th 2010, 16:05
|
||||
|
||||
|
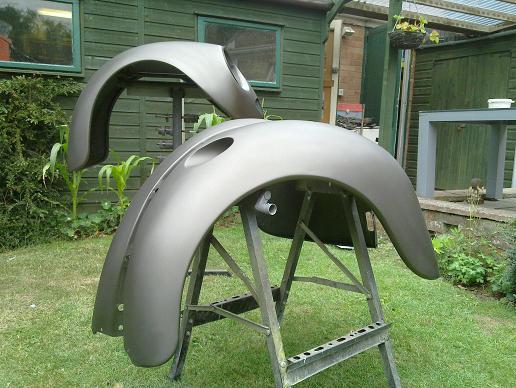
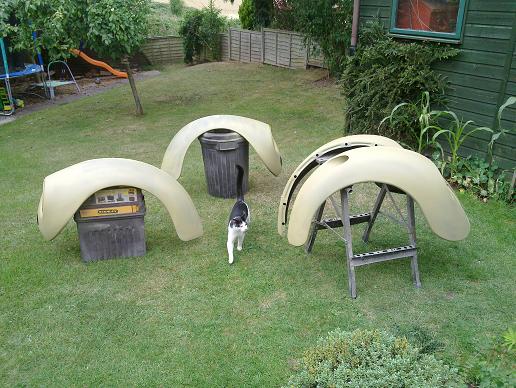
Bit of an update...
I have done some work recently but not overly exciting for pictures as it's all paint prepwork. 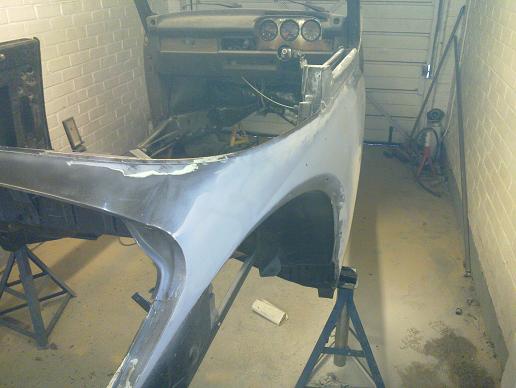 Rear quarter panel skimmed and smoothed... 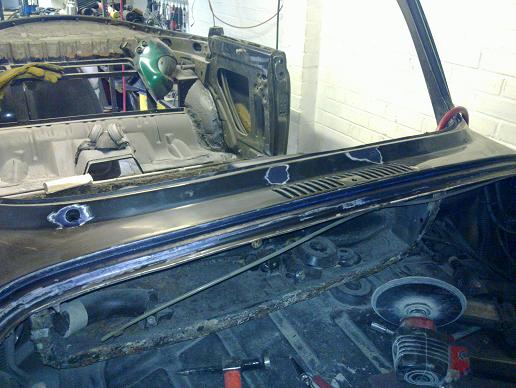 I welded up the LHD wiper holes 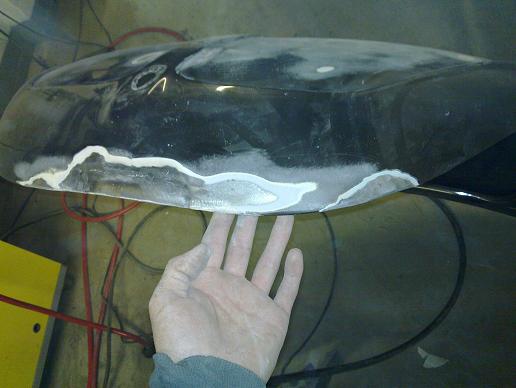 Bonnet needed a few sections replaced due to poor previous repairs rusting  Kamei mocked up again, luckily there is a suitable double bend on the bottom of the front wings to mount to. I plan to make a mould out of the cut down Kamei piece and a metal strip that will be bolted up on to the body, I'll then make up a fibreglass part. 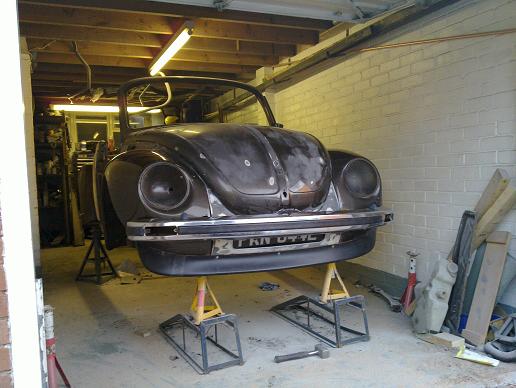 All mocked up to see the final effect. I don't think I'll get away with running the numberplate there unfortunately!  Bodyworking the rear wings now... I'm changing jobs and have a couple of weeks holiday to use up over the next month so hopefully I might even get it in paint by the end of August! Rich
__________________
http://www.ricola.co.uk
|
|
#86
July 30th 2010, 16:50
|
||||
|
||||
|
The cut-down Kamai looks really good mounted like that Rich! (but you already knew that I guess
 ) )Prep work is the most labour involved, but time spend now will determine the outcome, so very well done you take your time.
|
|
#87
July 31st 2010, 22:40
|
||||
|
||||
|
Great work so far Ricola! (as always)

__________________
1970 T1 W/MassIVe 2913cc RAT/?EFI? w/direct fire (very soon) and 915 trans  1962 SC 1776cc SP 944NA brakes, 993 wheels VKG
|
|
#88
August 2nd 2010, 10:23
|
||||
|
||||
|
I'm still out there working...
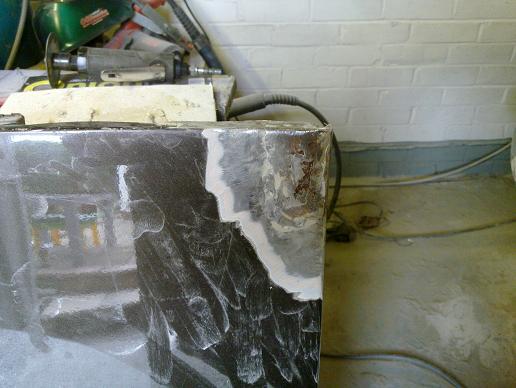 More rust found on the bottom of the door... 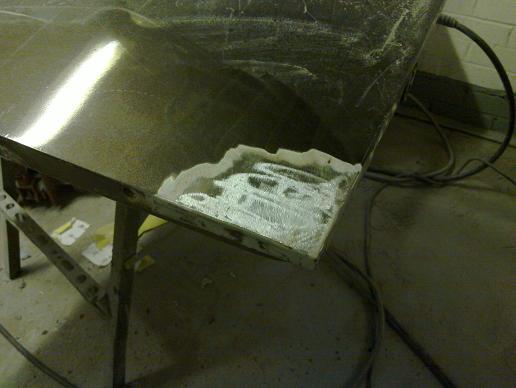 and repaired... 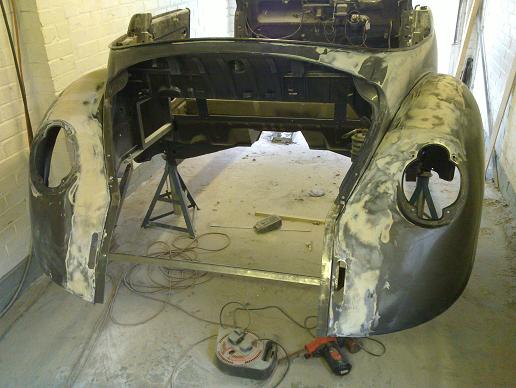 More sanding! I have to give praise to the How to guides on www.mig-welding.co.uk for bodywork, especially the ruler trick and also a tip I found elsewhere of adding a bit of fibreglass resin to the filler to make it thinner. 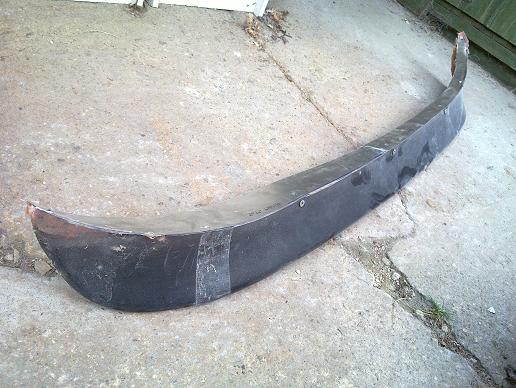 I cut a metal flange piece which was bolted to the body, the remains of the Kamei was then bolted in place and the two bonded together with fibreglass filler. The ends will be reshaped and the whole thing smoothed before I use it as a master to create a mould for a new fibreglass part.
__________________
http://www.ricola.co.uk
|
|
#90
August 5th 2010, 11:02
|
||||
|
||||
|
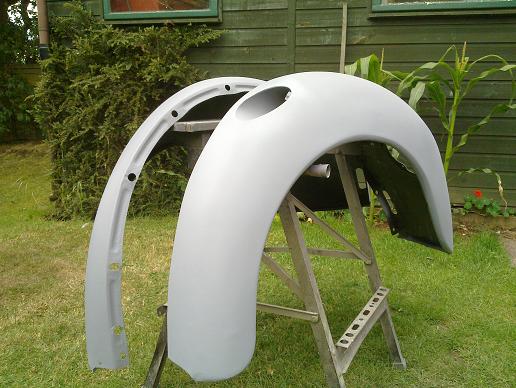
First colour coats! I'll do the final coats and clear with them loosely attached to the body, this is more to just cover the primer so I can put them out of the way while I do the rest of the prep work...
__________________
http://www.ricola.co.uk
|
 |
| Currently Active Users Viewing This Thread: 1 (0 members and 1 guests) | |
|
|


 Linear Mode

