
|
|
#1
 January 15th 2010, 15:30
|
||||
|
||||
|
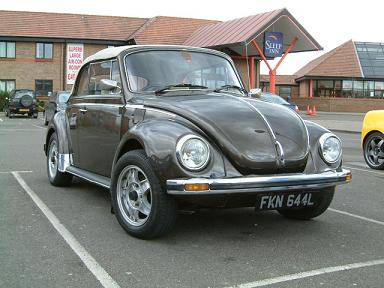
WRX/Porsche Karmann cabrio 1303
this is my long term project that I initially bought about 5 years ago like this:
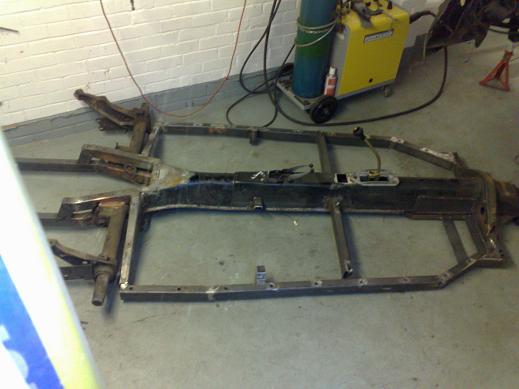
 It was never going to stay standard, the original plan was to buy a solid car and stick a subaru engine in with some uprated brakes and suspension, staying with an uprated VW transmission to keep things simple... First up, some decent adjustable struts for the front 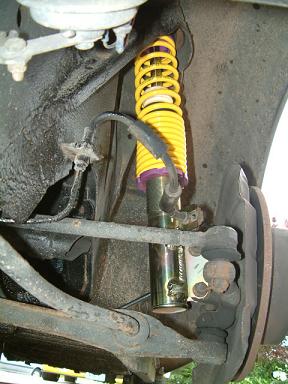 and some 996 brakes all round 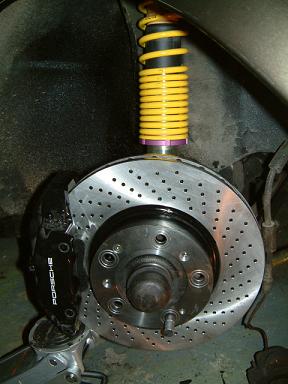 I then started having a poke around and what I thought was solid turned out to be an incredibly rusty car, these things rust from the inside out! 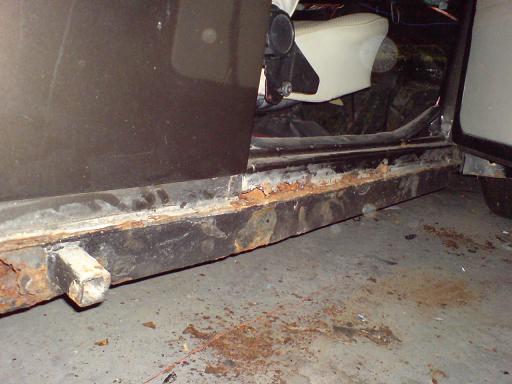 inside the sill! 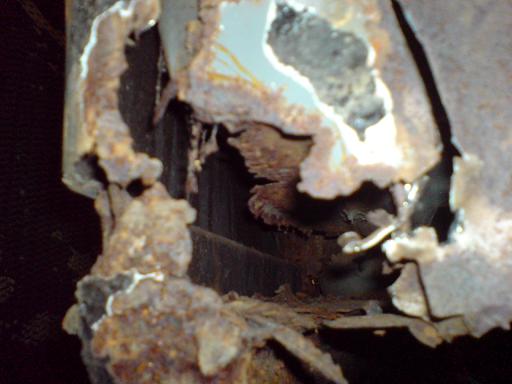 front end: 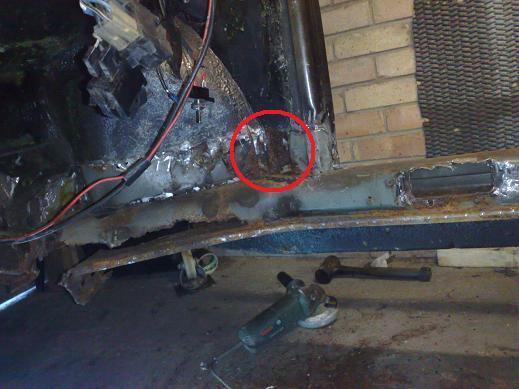 So I decided to do the job properly and take the body off the chassis New heater channels and cabrio strengthening panels underneath: 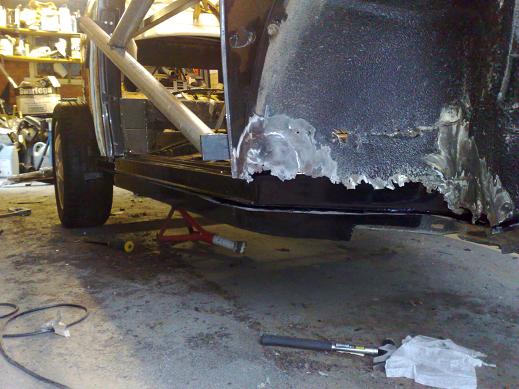 rear crossmembers: 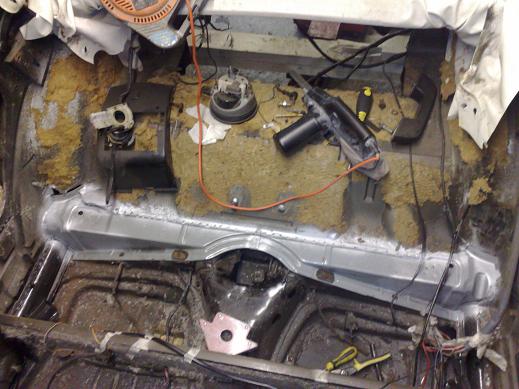 front bulkhead: 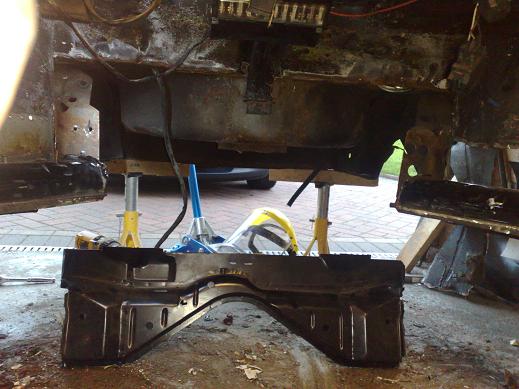 Inner wings: 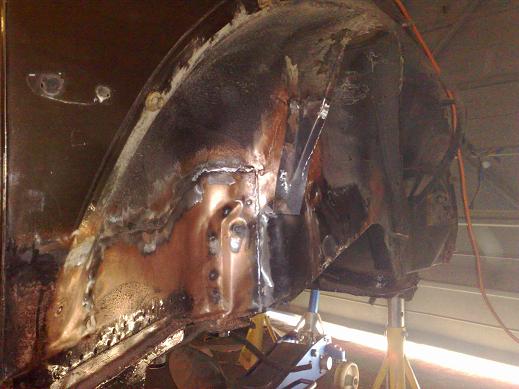 I think you get the idea, lots of other repairs too! I think you get the idea, lots of other repairs too!As the body was off I thought I may as well go the whole way with it and upgrade it completely to take the power of the scooby lump (starting at about 300bhp). I also decided to go the whole hog with upgrading everything to be futureproof should I upgrade even more. This is all based around a Porsche 911 trans (G50, like the Ultimas use). As you can see, it wasn't going to just bolt in.. So I started cutting! 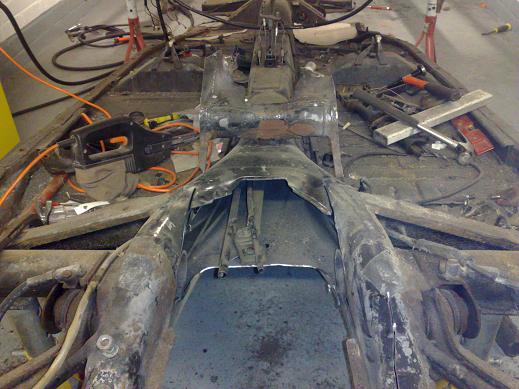 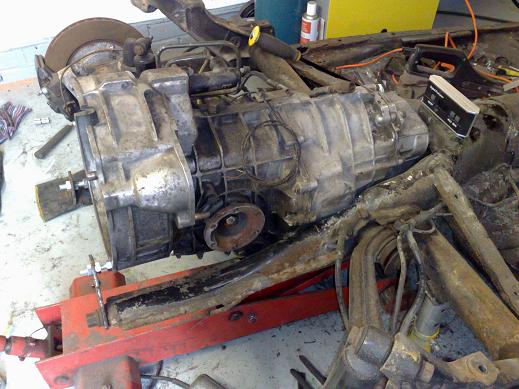 There was too much removed from the framehorns for my liking so I started scheming up new stronger ones 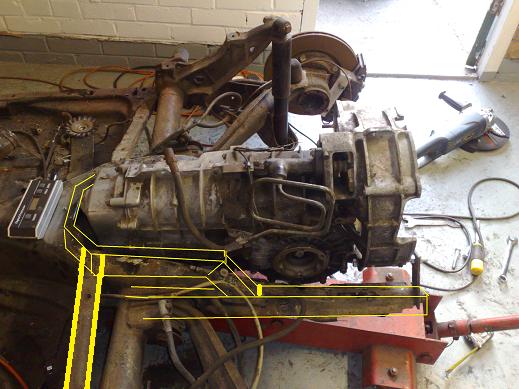 which ended up as this: 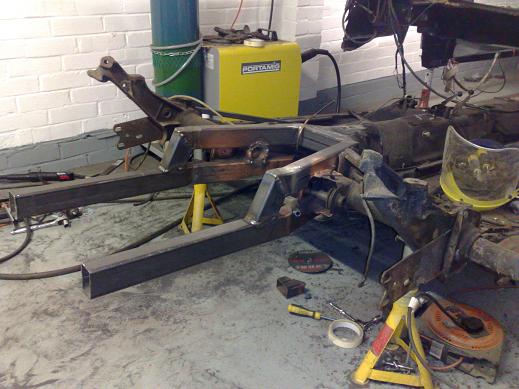 I planned to cut out the sheet floors and build a perimeter frame for new ones which will be substantially stronger 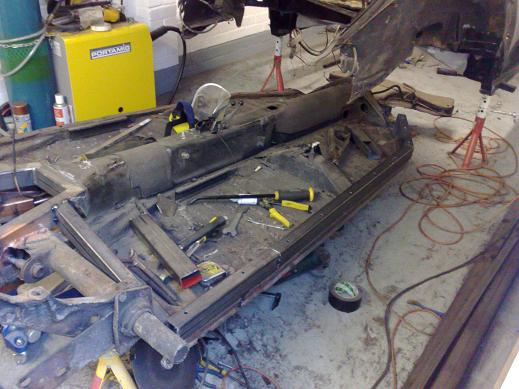 I did not want a roll bar of any kind, I like to keep a stock-ish look 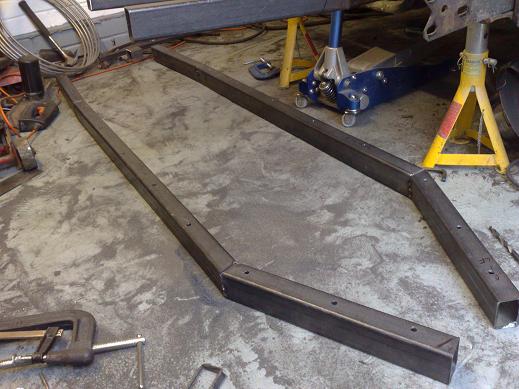 front end of the chassis looking rusty too so that came out! 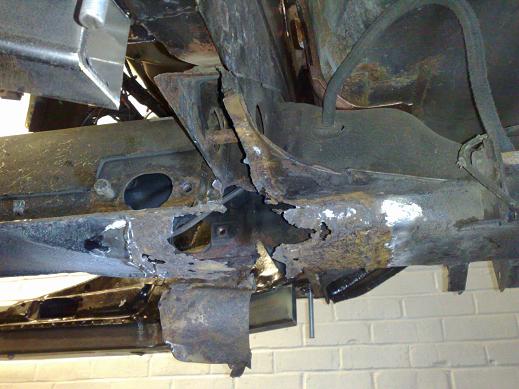 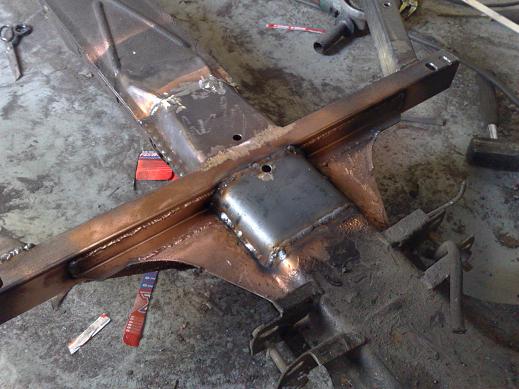 I also needed to make provision for a hydraulic clutch so went with a fully adjustable pedalbox, I lowered the front section of the floor to keep things tidy 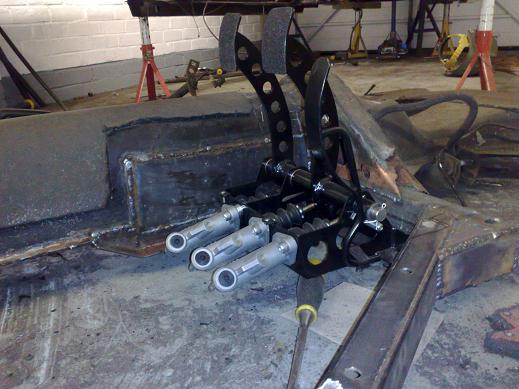
__________________
http://www.ricola.co.uk 
|
|
#2
January 15th 2010, 15:31
|
||||
|
||||
|
ended up like this:
 Made up supports for the 996 turbo sports seats: 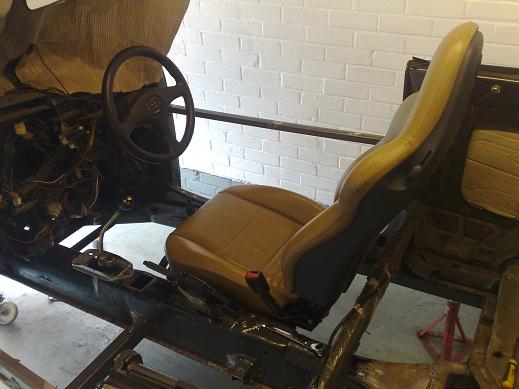 and sorted the 911 shifter 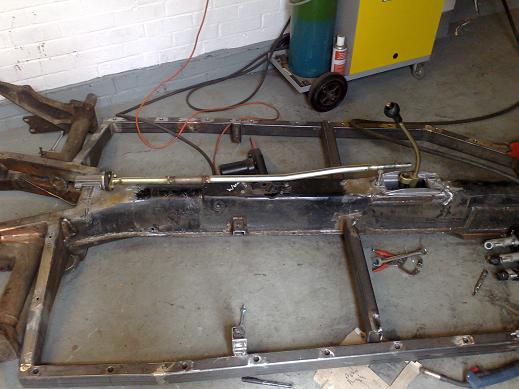 engine in to sort out mounts 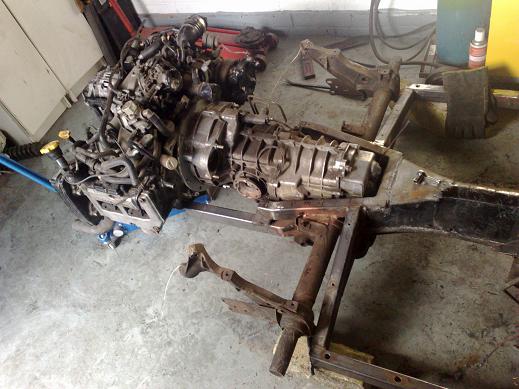 bought myself a beadroller and made up some new floors 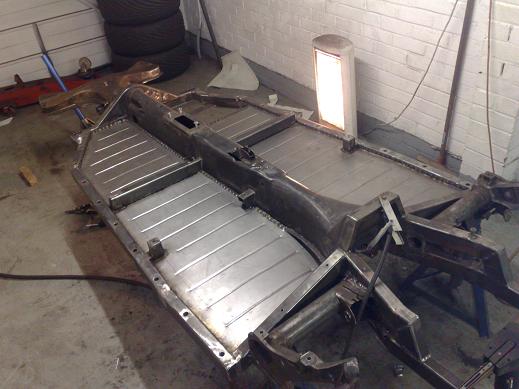 painted! 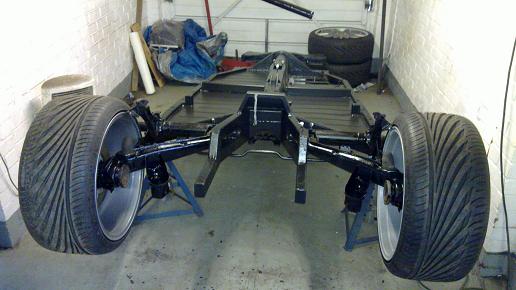 body needed modifying to squeeze the trans under the back seat inner body cut away for engine room/access using a vw bus engien access panel that I chopped down 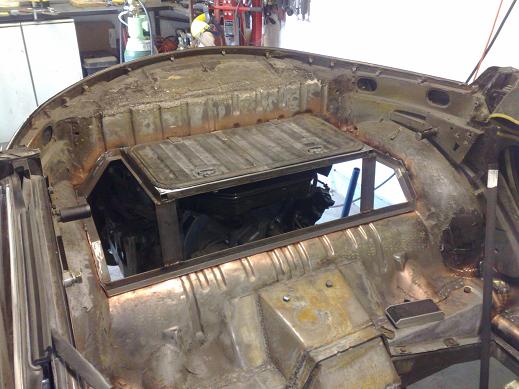 here some may notice the engine has been moved forwards and up in the chassis to give more sump ground clearance and to make sure the big quad cam heads fit under the bodywork 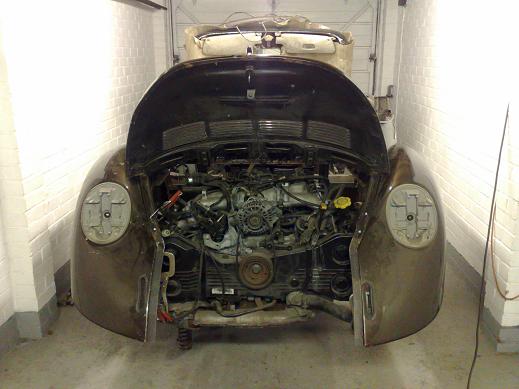 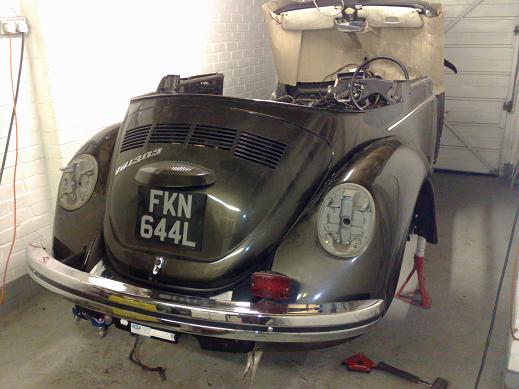 I then found some wheels I couldn't say no to, 19" Porsche carrera sports in Cayman fitment, 8,5J front and 10J rears they needed the rear wings modifying to fit 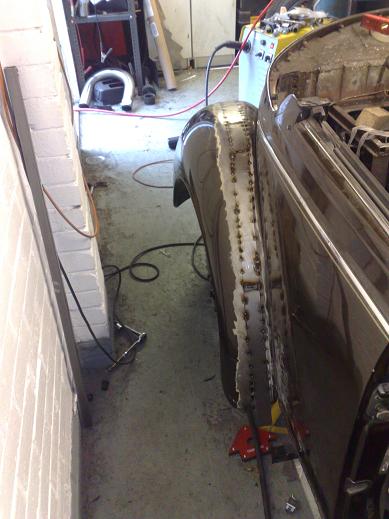 by 45mm by 45mmfront wings were massaged to fit as well as pulling the front suspension in a bit 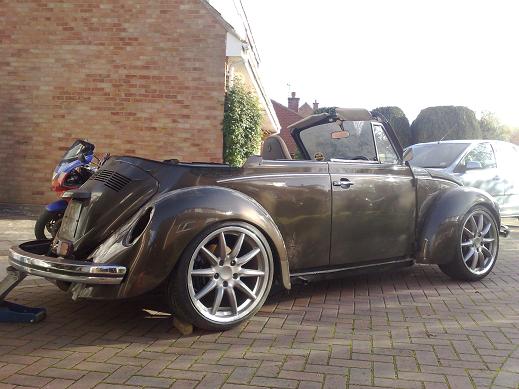 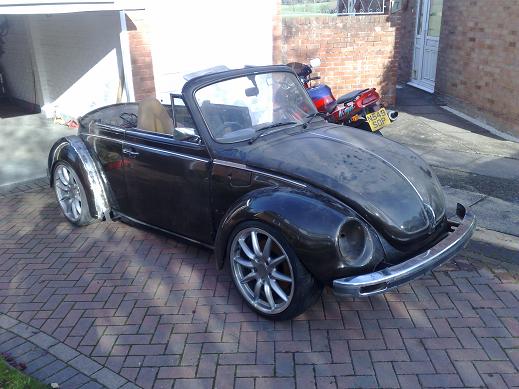 I also added an air intake for an enclosed cold air feed for the engine 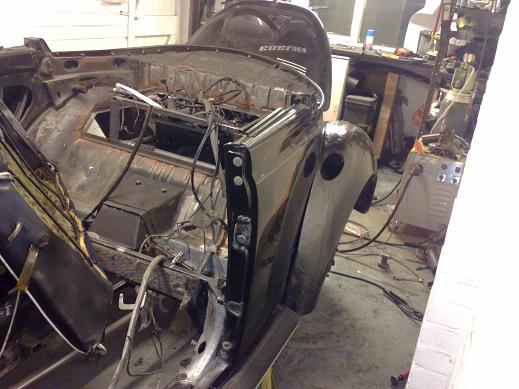 to go with all this, I modified the dash to take Porsche 944 VDO gauges, it will be covered in leather to look OEM 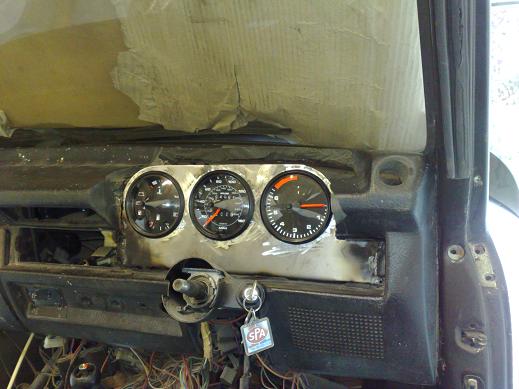 stainless exhaust system made up 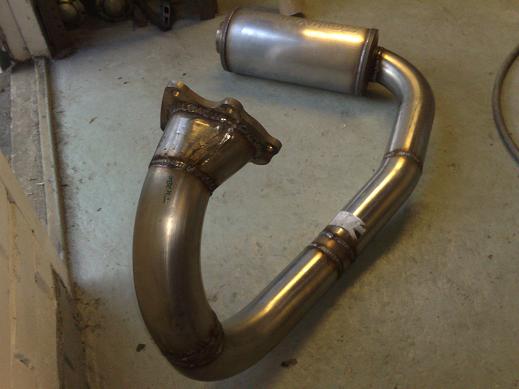 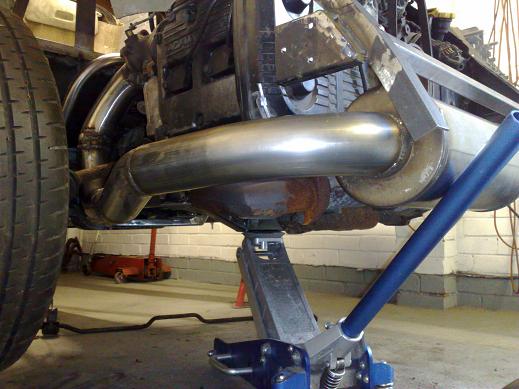 Coolant lines made up to run under the chassis 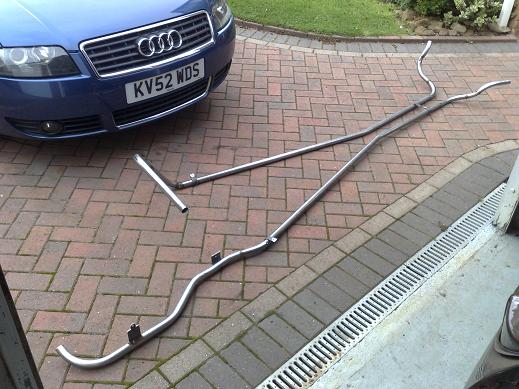 which feed a cosworth Pace radiator and chargecooler up front 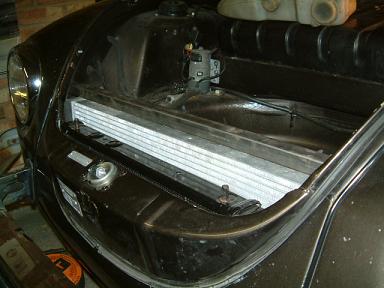 That's most of the story so far! I keep my website up to date so if you want to see more details have a look at www.ricola.co.uk It should end up looking more or less like this: 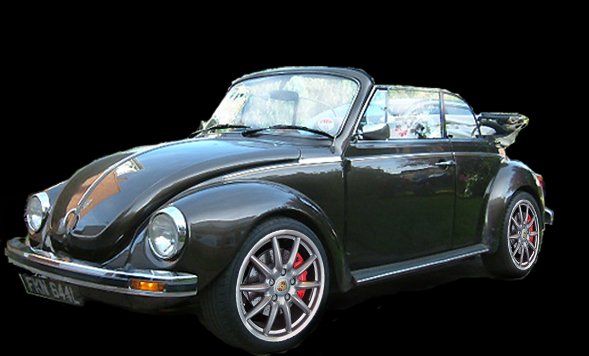 Comments and ideas welcome! Not finished yet, I plan to do the paintwork this summer when the weather warms up a bit... It's staying the same colour! Rich
__________________
http://www.ricola.co.uk
|
|
#3
January 15th 2010, 15:40
|
||||
|
||||
|
Perfect!!! That's a great recap. Top notch all the way.
Jason
__________________
If I could just get paid for my sleepless nights.... 1960 VW Bug UBRDUB Walkaround 1st Drag Run Dyno Run Oval Ragster-'57 Rag/'04 Boxster S
|
|
#5
January 15th 2010, 17:58
|
||||
|
||||
|
I'm very curious to see the final result...keep going Rich!!
|
|
#6
January 15th 2010, 19:20
|
||||
|
||||
|
is it going to be much heavier than before with all that metal work?
__________________
www.vw1303s.com
|
|
#7
January 15th 2010, 23:09
|
||||
|
||||
|
Wow I didn't know you had all that rust repair
 you've come along way! Looking good! you've come along way! Looking good!
__________________
1970 T1 W/MassIVe 2913cc RAT/?EFI? w/direct fire (very soon) and 915 trans  1962 SC 1776cc SP 944NA brakes, 993 wheels VKG
|
|
#8
January 16th 2010, 07:11
|
||||
|
||||
|
Well the chassis tube is about 25kg, I'd say the rear end body mods probably balance out, then add the extra weight from the G50, subaru engine and cooling system... Not sure what it will end up as but shouldn't be too bad. The main thing I wanted was not to loose too much ground clearance and keep the chassis work hidden, while adding considerable strength.
One other main mod I will do is to add a shortened Kamei as everybody seems to rave about them so much! However, I don't like how they look so 'bolted on' normally, so I will cut it down and mount it to the body, keeping all the front valance panel and wings visible with the slightly shortened kamei below that in black, so visibly it should be fairly subtle. It should actually improve cooling to the radiator as well...
__________________
http://www.ricola.co.uk
|
|
#9
January 17th 2010, 16:11
|
||||
|
||||
|
Right, time to start finishing off the body...
Filter frame now welded into the body 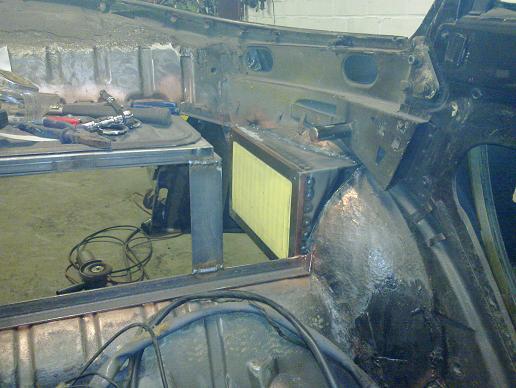 Hooks up to the wing pipe nicely 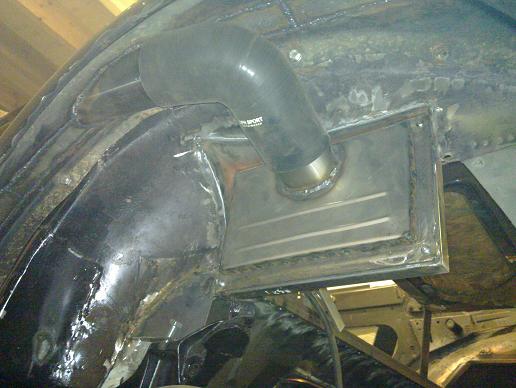 Inner wing finished off, note angle along bottom edge for strength, I will make a brace off this down to the bumper mount on each side to strengthen the back end 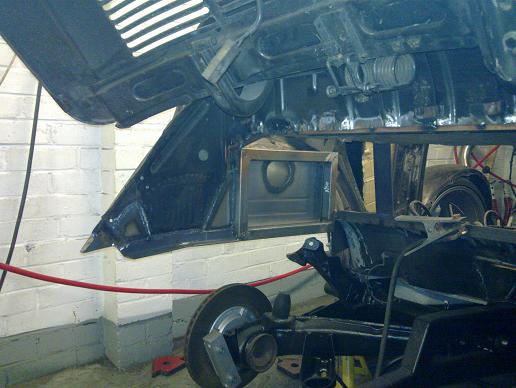 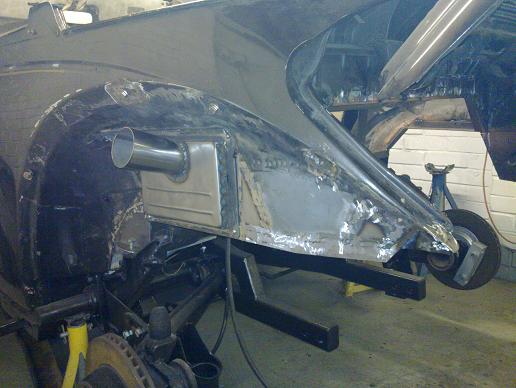 I've half done the other side, it will be the same apart from having the 'filter' area as a removable panel for maintenance.
__________________
http://www.ricola.co.uk
|
|
#10
January 17th 2010, 21:23
|
||||
|
||||
|
Filter looks nice. What are you doing about water getting in?(or out rather)
__________________
1970 T1 W/MassIVe 2913cc RAT/?EFI? w/direct fire (very soon) and 915 trans 1962 SC 1776cc SP 944NA brakes, 993 wheels VKG
|
|
#12
January 18th 2010, 03:29
|
||||
|
||||
|
This Vw addict is crazy
|
|
#13
January 18th 2010, 14:20
|
||||
|
||||
|
Quote:
__________________
http://www.ricola.co.uk
|
|
#15
January 18th 2010, 17:31
|
||||
|
||||
|
Cheers for the comments!
Body is on pan for probably the final mock up, just getting all the fixings sorted, I'll put the trans and engine back in soon for mounting of tanks etc, then it will come off for final bodywork sorting and paint and running the hydraulic lines on/in/under the chassis... Finished the other inner wing tonight, nothing exciting, will put up a pic when I've made the cover panel for it
__________________
http://www.ricola.co.uk
|
 |
| Currently Active Users Viewing This Thread: 1 (0 members and 1 guests) | |
| Thread Tools | |
| Display Modes | |
|
|


 Linear Mode

