
|
|
#122
 October 17th 2010, 15:01
|
||||
|
||||
|
I've been doing loads of little jobs, mainly refurbishing parts before refitting them.
Definitely getting there! All glass now in after spending a small fortune on various rubber seals which were too far gone to re-use.  The G50 was a real pain to detail! Porsche use a really thick type of wax and liberally spray it on all over the underside. A 10mm wire brush was the best thing to get it out in the end. Lots of degreasers and finally etched and painted in alloy wheel silver should keep it looking much better and cleaner in the long run... You can also see the steel spacer under the front mount. 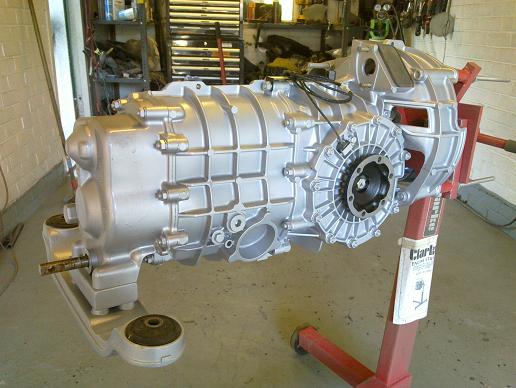 The engine's turn on the stand for some detailing... I'm probably going to go with black wrinckle paint for the alloy bits (cam covers and intake manifold). 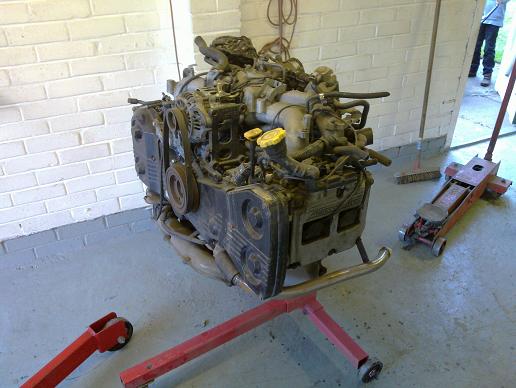
__________________
http://www.ricola.co.uk 
|
|
#123
October 18th 2010, 05:19
|
|||
|
|||
|
Coming along nicely! Looks great! I love the paint!
|
|
#124
October 31st 2010, 16:29
|
||||
|
||||
|
Engine stripped back to a bare longblock and painted in POR engine enamel..
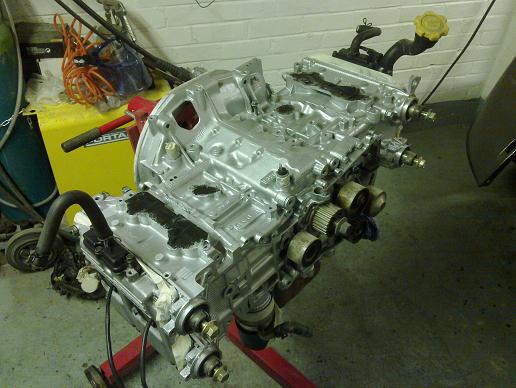 Cam covers were stripped back and treated to some VHT black wrinkle paint. 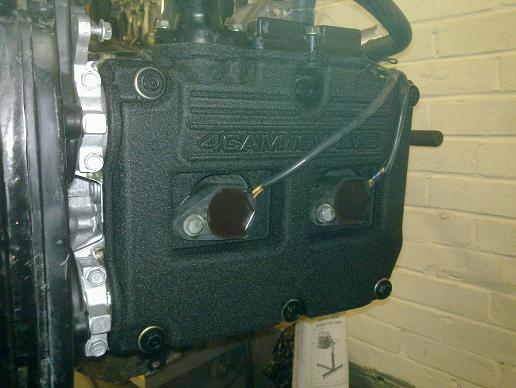 Coming back together, new cambelt hiding under there too...  Lots of now redundant bosses were cut off and smoothed to give a cleaner look and the manifold also painted in wrinkle. This is how it looks straight away... 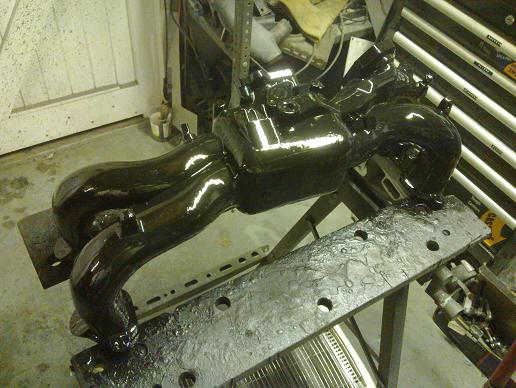 ....and after a couple of hours! 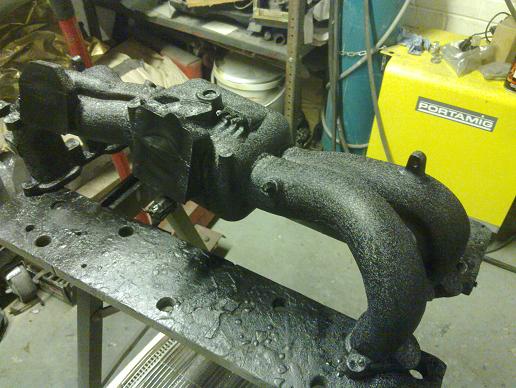
__________________
http://www.ricola.co.uk
|
|
#125
October 31st 2010, 20:57
|
||||
|
||||
|
Looking great Ricola... as always.

__________________
1970 T1 W/MassIVe 2913cc RAT/?EFI? w/direct fire (very soon) and 915 trans  1962 SC 1776cc SP 944NA brakes, 993 wheels VKG
|
|
#127
November 1st 2010, 22:10
|
||||
|
||||
|
Looks awesome..
Nice touch on the valve covers.. Alex
__________________
Alex Olaverri Sales Associate for Bug@5-Speed (US) Email: Bugat5speed@yahoo.com Tele: 973 204-5463
|
|
#128
November 7th 2010, 15:48
|
||||
|
||||
|
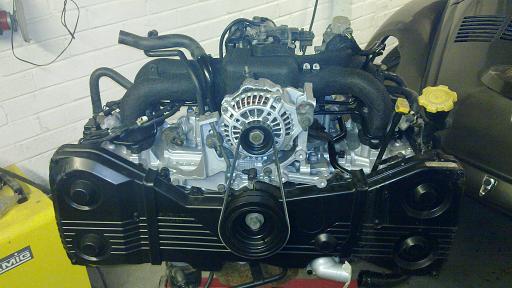
Engine just about ready to go back in the car...
 I decided to shorten the sump but only by an inch or so as that will just about bring it level with the exhaust manifold and oil filter and maximise ground clearance. 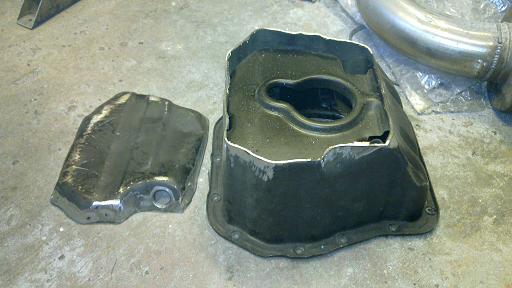 Cut up and new component parts. I filled in the slope at the front part to regain lost capacity and it turned out near enough identical to the original volume. I cut slots at the top and bottom of the additional triangular section so the old sloped wall acts like a baffle. 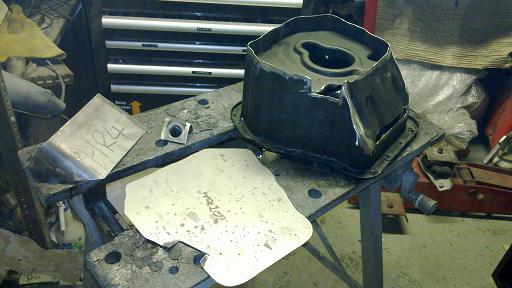 All welded up, just needs a clean and like of paint, then to shorten the pick-up tube. Note the drain plug is at the low point... 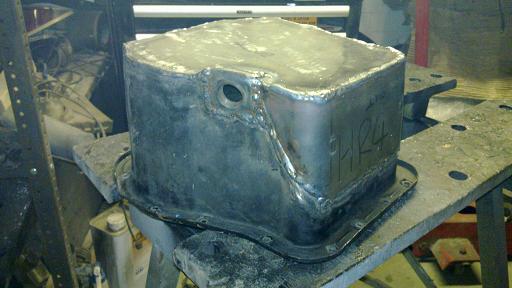 Looking and thinking about it now I might weld on some strengthening ribs on the bottom level wiht the drain plug to add some strength...
__________________
http://www.ricola.co.uk
|
|
#133
November 11th 2010, 18:18
|
||||
|
||||
|
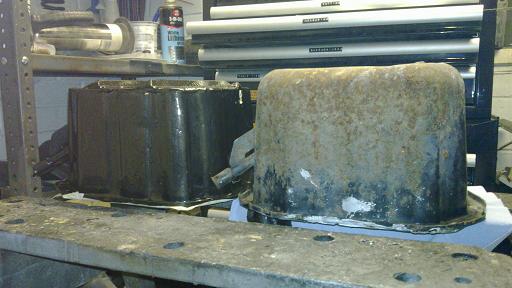
In the end I welded on some strengthening ribs which also serve as a flat bottom and stop the drain point getting damaged. Note that the old sump drain 'bulge' has already been flattened on the old sump so the gain is better than it looks here...
 Stock pick-up pipe 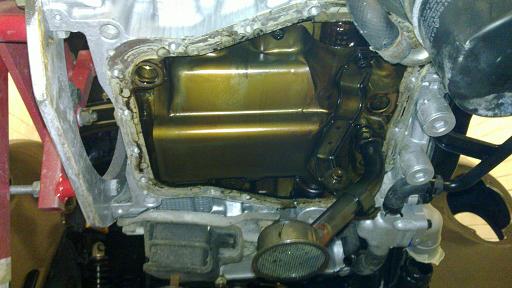 shortened to suit the new sump. I also had to shorten the support piece. Normal clearance to the bottom is 16mm but I reduced this to both gain useful capacity and it was easier to just shorten the vertical section and braze it back together, I ended up with 9mm to the bottom. Apparently subaru rally cars are modified to only 6mm... 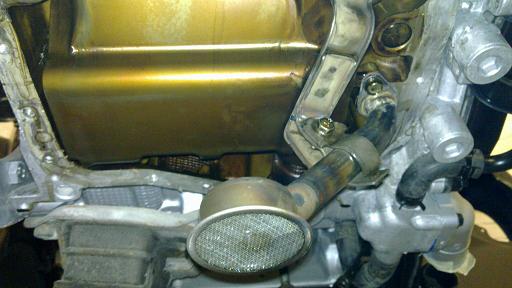 Finally fitted, the actual oil part of the sump is level with the bottom of the oil filter and I didn't want that to be the lowest point. All in I have gained about an inch ground clearance. 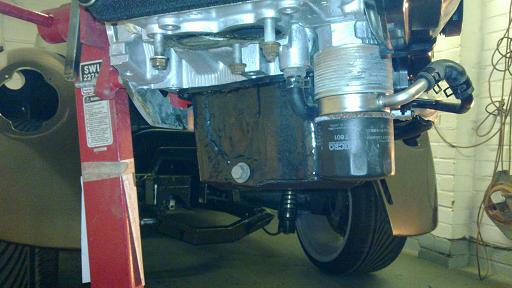
__________________
http://www.ricola.co.uk
|
|
#134
November 21st 2010, 16:41
|
||||
|
||||
|
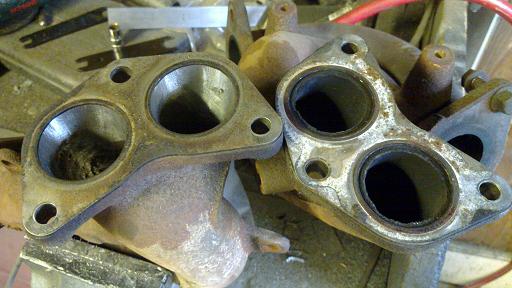
While the header was off and in pieces I took the opportunity to get the die grinder out and do some match porting, apparently this is good for a fair few bhp!
 All painted in high temp paint and mocked up on the engine to check ground clearance. The aim was to make sure the oil filter wasn't going to be the lowest point and this looks about right to me... 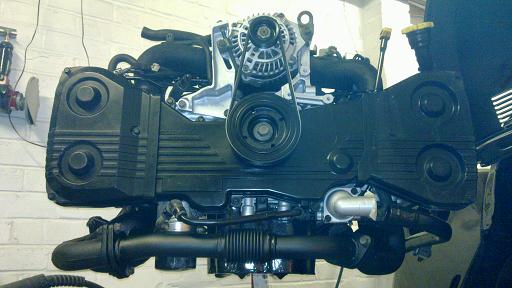 The original up-pipe lagging was savable so just painted but the rest will be wrapped and repainted. 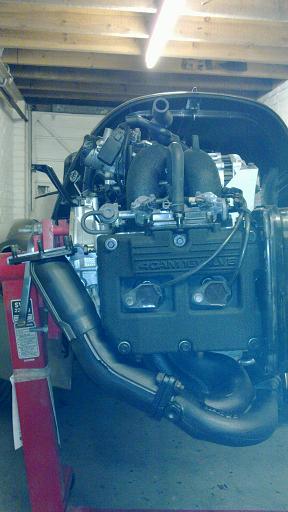 Manifolds wrapped. I used the stainless ties that came with the wrap but found stainless MIG wire worked better, fitted every few inches. 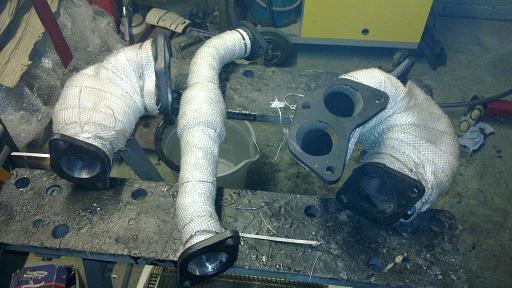 8m of 2" wrap went into the manifold and another 10m for the downpipe! The wrap was soaked in water first as it later shrinks to a tighter fit as it dries out. Due to the low temperatures at the moment it was taking forever to dry out so I improvised and left the hot air gun blowing down the inside of the exhaust and it worked great! 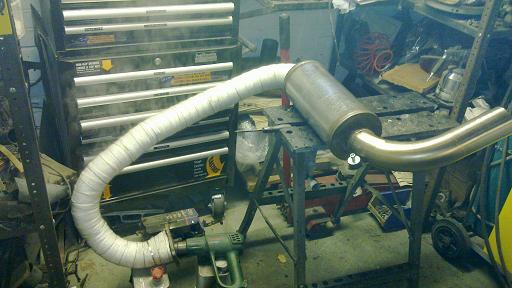 Additional support made up to support the muffler end of the exhaust. I managed to scrounge enough stainless bar to make a bracket on the exhaust and made up the support using a mini style exhaust rubber mount. 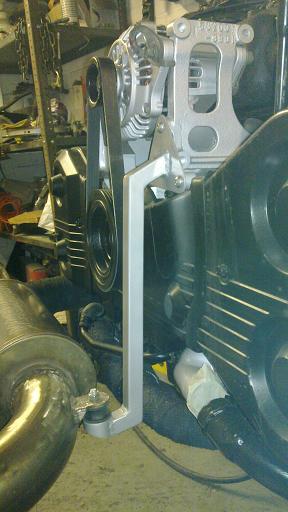 All fitted up. Note I also painted the wrap to stop it absorbing water, oil etc later on.. 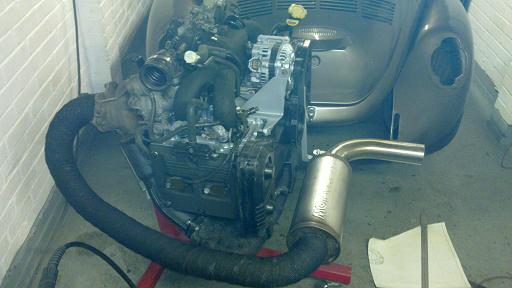 Quick check to confirm the muffler is not the lowest part.. 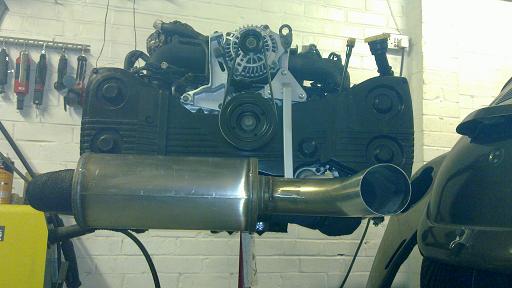
__________________
http://www.ricola.co.uk
|
 |
| Currently Active Users Viewing This Thread: 2 (0 members and 2 guests) | |
|
|


 Linear Mode

