
|
|
|
|
#1
 September 28th 2005, 07:44
|
||||
|
||||
|
Managed to finish up the carpet around the amp rack - not perfect but tidies it up quite nicely. Windscreen washer is finally hooked up and working.
Wiring from crossovers to splits is done (just have to wire amp to crossovers) - 1/0 gauge power cable will be routed to stinger distro block (to be mounted at top tier of rack in centre). 4 gauge will be routed to amp, and second run to small unfused distro block to provide power for the HU, and neon/s. 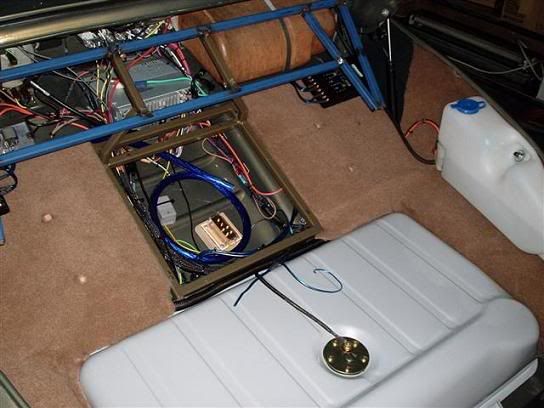 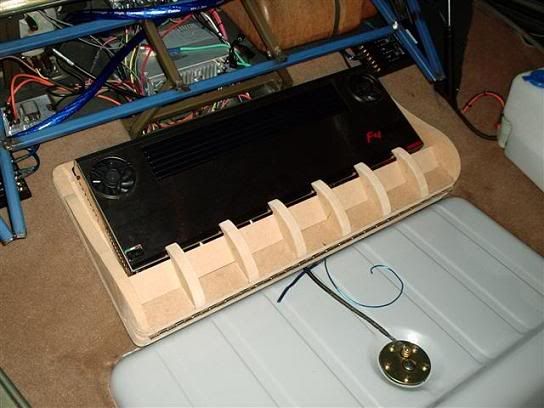

|
|
#2
October 1st 2005, 12:54
|
||||
|
||||
|
Sup Dub
long time no post from me.. Your Bug is lookin as sick as ever.. You know the SPL cap for an SQ system is 135dB I think you can hit that no prob.. and with the Dyns in front you'll have no truble hearing anything.. Say what amp is that you had a Kenwood before.. & your router work ( or jig) is great.. hope your enjoying your New car.. Peace Troy
__________________
SOLD!! 65 Bug 1835cc,Duel Dell 34's,BMD Serp Belt, A1 Perf. Sidewinder,CompeUfire Pointless Ign 95A Alt,CSP Valve Covers,Randar Diego 16's Soon [URL=http://www.cardomain.com/id/troy_audio]
|
|
#3
October 3rd 2005, 06:30
|
||||
|
||||
|
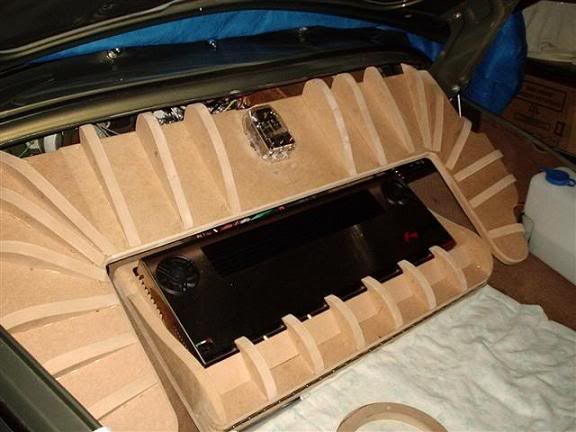
Hey Troy - cheers mate. The amp is an Audio System F4-600 Twister series. It can supply 2 x 460W RMS @ 4ohm - here is a link to some details:
http://service.winnet.it/Gttrading4/easysite/scheda3.asp?livello=3&Marchio=Audiosystem&Gamma=Tw ister&Modello=F4>600&pg=1 Well, as if you hadn't figured already, this sort of thing takes a lot of time! First the base for the top tier was cut from mdf and edges routed. The hole up the top is just to provide some back lit illumination through the plastic Stinger distribution block (from underneath the base). Second pic shows the amp and its ridged cover plate (hinged for access to amp controls), along with distro block in place. Last pic shows the 'bones' which will form the shape of the upper tier - these will be secured in place via hot glue then fabric stretched over them to which the fibreglass can be applied. Hopefully more to come soon. 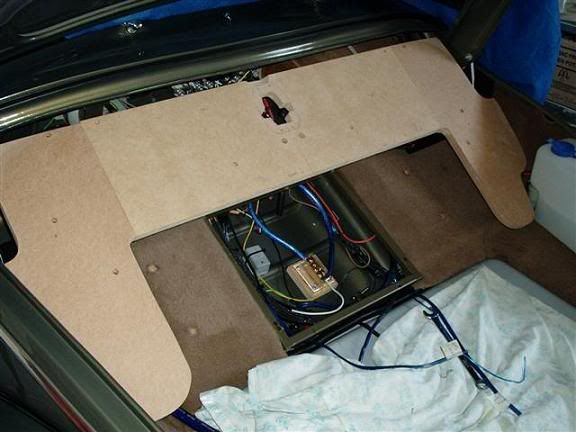 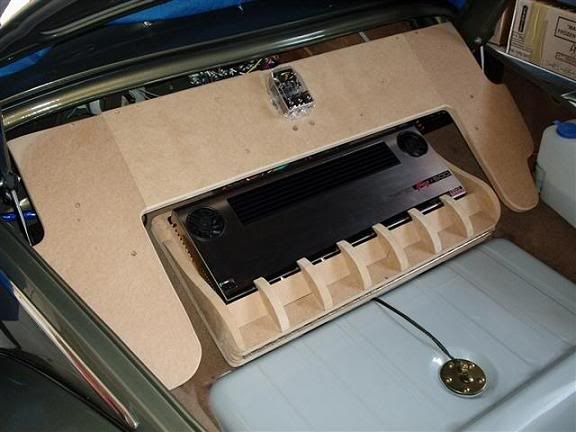 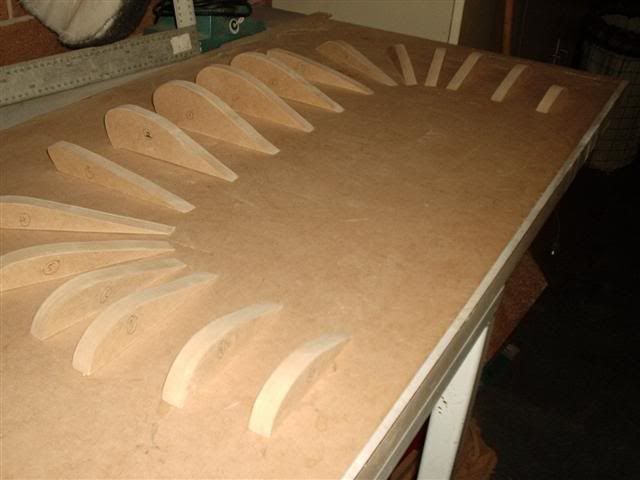
|
|
#4
October 3rd 2005, 13:42
|
||||
|
||||
|
Madness..
Should look Way Killer when your finished.. I like the Idea of lighting the distro block.. that should look sick.. Take'n your time is what gets you a car like yours.. Very nice man cant wait to see it on the cover of Volksworld,Hot VW,ext ext... Peace Troy
__________________
SOLD!! 65 Bug 1835cc,Duel Dell 34's,BMD Serp Belt, A1 Perf. Sidewinder,CompeUfire Pointless Ign 95A Alt,CSP Valve Covers,Randar Diego 16's Soon [URL=http://www.cardomain.com/id/troy_audio]
|
|
#5
October 9th 2005, 05:30
|
||||
|
||||
|
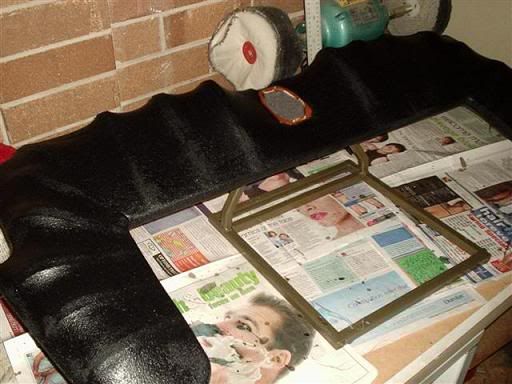
today the f/g work started finally on the upper tier. The skeleton pieces were hot glued in place and then fabric stretched over...couple coats of resin were applied to stiffed it all up to get ready for the f/g matt (this week some time).
|
|
#6
October 12th 2005, 06:24
|
||||
|
||||
|
All the images I had attached were down for quite some time, but finally the gallery is back up and running again (although because the links have changed the images still won't be visible in this thread) - but here is the new link to see all the pics from start to finish (well almost finished):
http://www.manxgallery.org/gallery/album95?page=1
|
|
#7
October 15th 2005, 23:08
|
||||
|
||||
|
Slowly but surely the amp rack progress continues. When painting fibreglass (rather than carpeting or vinyling it), a lot more time has to be spent to get it spot on.
There have been about 8 layers (most of which gets sanded off) of filler applied to get the desired shape. Lots of sanding thats for sure! Hopefully will have it high build primer then colour soon.   
|
 |
| Currently Active Users Viewing This Thread: 1 (0 members and 1 guests) | |
|
|


 Hybrid Mode
